Reach your audience with integrated Email and SMS marketing tools. Send personalized newsletters, notifications, and track delivery statistics effectively.
Streamline your business with powerful no-code triggers and actions. Automate repetitive tasks, set up instant notifications, and connect your data flow to save time and avoid errors.
Connect your forms and databases to QuintaChat. Integrate popular messengers and social networks to communicate with customers directly from your system.
Powerful online form and relational database builder. Collect data, automate business processes, and build apps without code. Supercharge your workflow with seamless integrations.
Advanced online database builder to structure and manage your records. Define relationships, set up complex filters, and collaborate with your team in real time. Turn tables into a powerful relational system.
In this article, you will learn how to transfer a record or data of certain record cells from one table (form) to another. Moreover, these tables can be located in different applications.
For example, we will use two applications - "Database" and "Income". The task is to transfer values from the "Name" and "Total" columns, from the "Customers"table of the first application, to the "Receipts" table in the "Income" application (automatically or manually):
To solve this task, we will use Webhooks[1] and QuintaDB API. Please note, this example also applies using APIs of other services. In other words, using webhooks, you can pass data from your table almost anywhere.
Step-by-step instruction:
1. Create an API key on the "Developers" page[2].
2. To pass data to the table, we need to get the "Receipts"form and fields ids. To do this, click on the Get URL button.
3. Select your API key, choose the Fetch all form fields request and select "Income" application - "Receipts" form. Click on the Copy to buffer button.
4. Using the generated URL, we can get this application all forms ids and all fields ids (inside the form). Just copy this link (in JSON format) and paste it into a new tab in your browser.
5. Copy the form id and required fields id, you will need them later. Pay attention to the image below.
'entity_id' (marked in red) is the id of the form.
'id' (marked in blue and green) - these are the "Name" and "Funds" fields ids.
6. Let's go back to the Get URL page and execute the request - "Create record" (read more about this request here). Select the "Income" application and the "Receipts" form, which you want to pass the data to.
7. Copy the generated link to buffer.
8. Open the "Database" application, the "Customers" form. We will transfer the data from this form to the "Receipts" form.
9. Let's add a new Action[3] field with the Webhook task type.
10. Paste the generated URL from step 7. Method - POST, Content-Type - multipart/form-data.
12. Open the Request parameters tab. Here you need to add the entity_id parameter and select Custom value from the list. The value is the form id, which you got from step 5.
13. Also, you need to specify the parameters names and select the fields, which you will transfer the values from. This parameters must be of the following view: values[column_id].
In this example, we use the "Name" and "Funds" fields ids from the "Income" application. Select the fields from the list: "Name" and "Total" from the "Database" application:
14. We press the Create button. To check, click on the Action button opposite the record to pass:
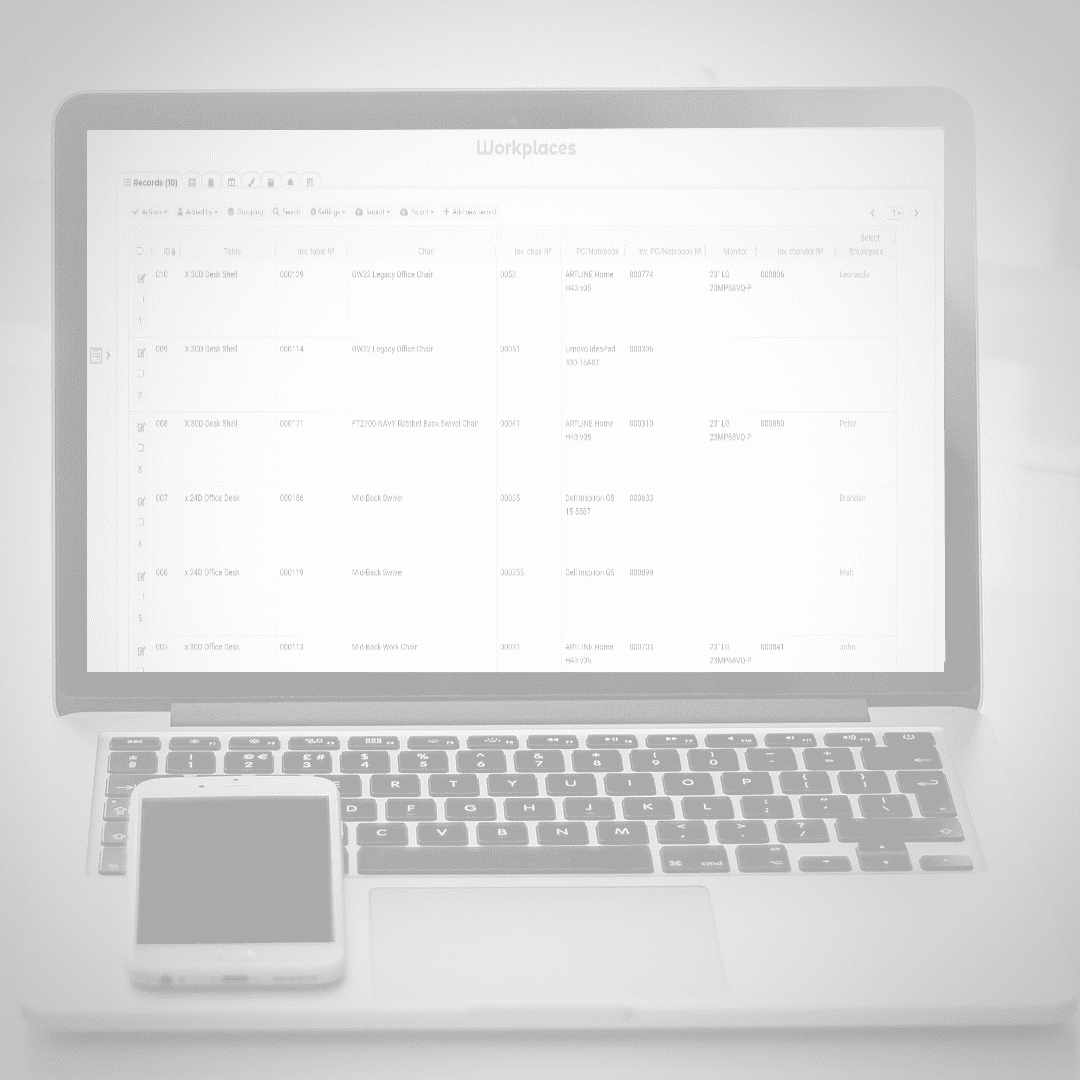
Let's check the "Receipts" table:
Similarly, you can set up data transfer using the Conditional Actions[4]module. The action can be performed when а record is creating/editing and when the payment is completed[5].
For example, let's create a condition: if all fields of the "Customers" form are not empty, then when a record is creating, the data will be transferred to the "Receipts" table (action - Webhook). Read more about how webhooks work with the Conditional Actions module here.
After creating a conditional action, you need to open the action editing page and configure it in the same way as described in step 10:
Thus, when a new record is added to a table, it will also be added to another table (if the following conditions are met):


 English
 Italiano
 Español
 Deutsch
 Português