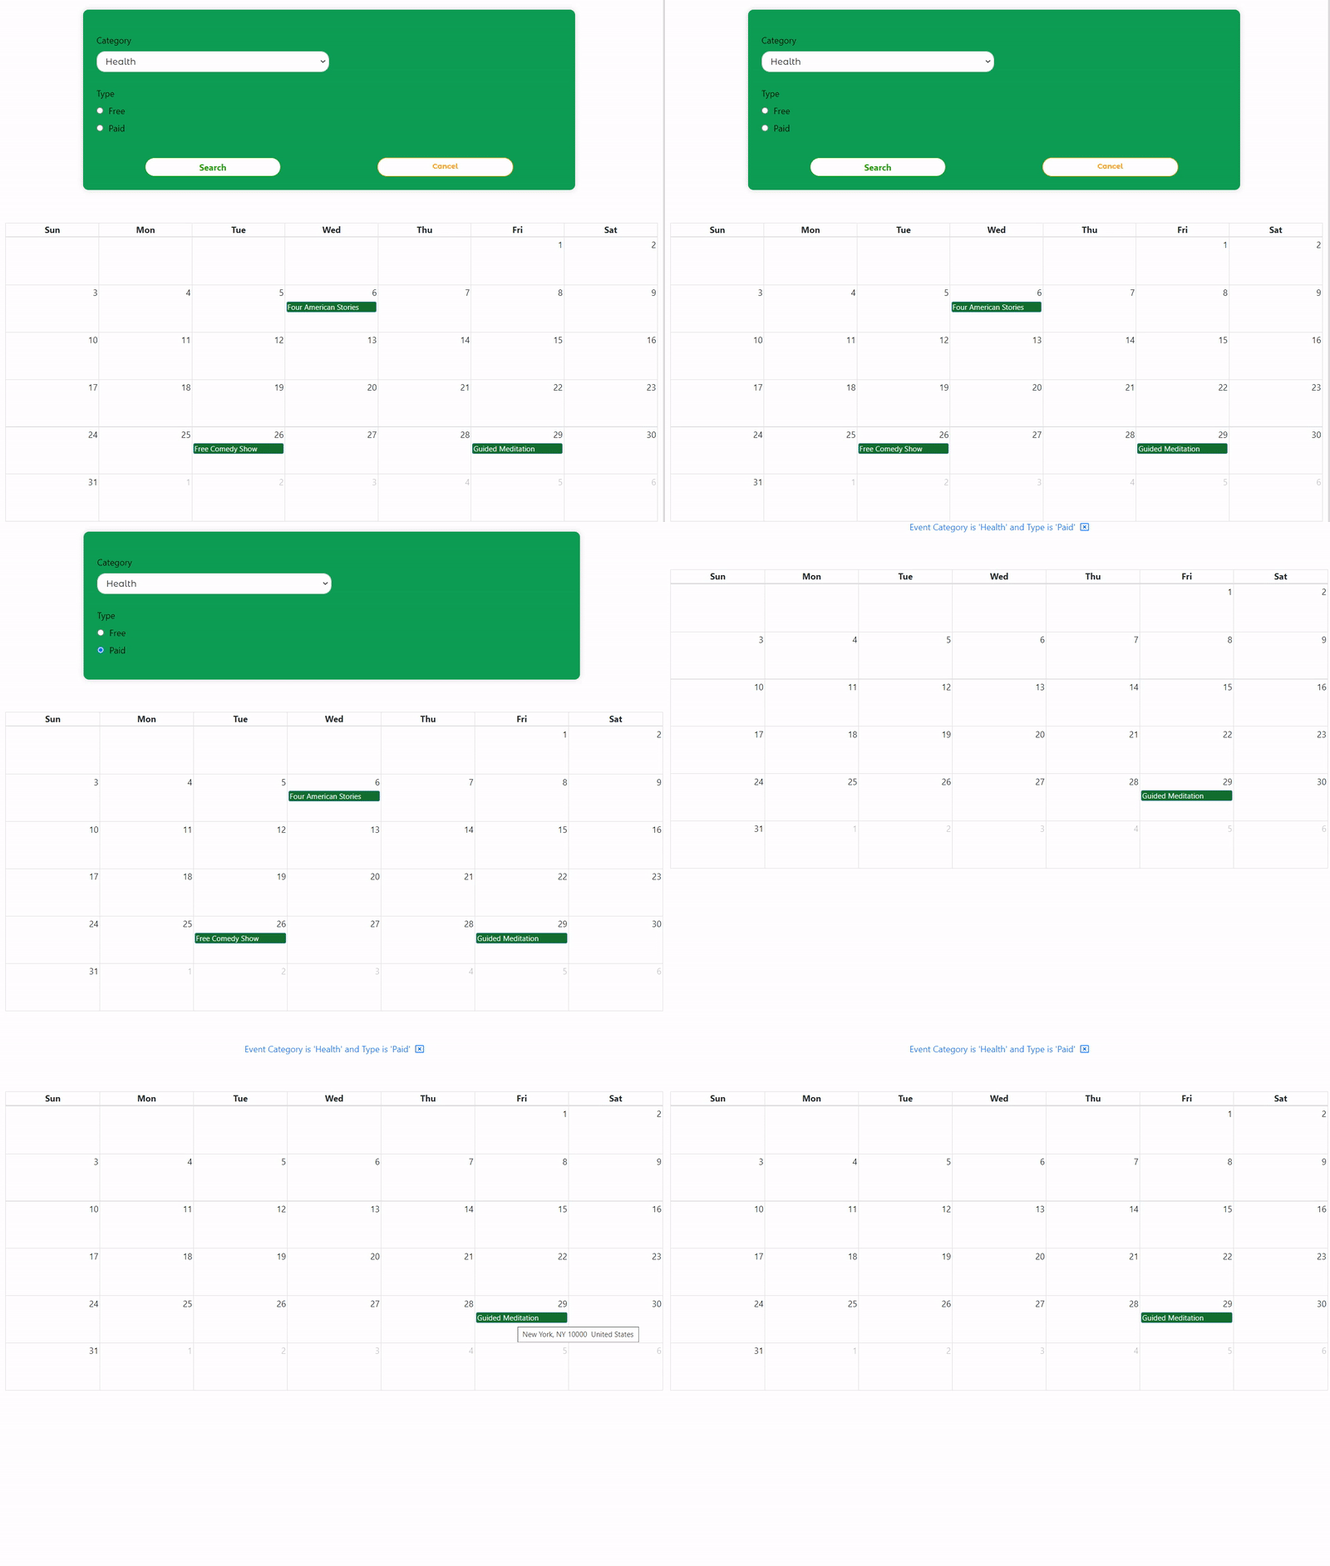
In QuintaDB you can show the data from this tables in the Calendar view.

Using the "Lesson Schedules" table as an example, we will show how to create a Calendar.
Open the app:

Go to the "Calendars" module using the leftside menu:

Create a new calendar and specify the data source:

Select the Table or Report, select the column with event's start date and with event's end date (if you have).

Also, you can customize:
- Date title - it can be a column from a table/report or custom text.
- Text on date mouse over - it can be a column from a table/report or custom text.

- On click action (what to do on click) - "Do Nothing", "Open Record Widget", "Edit record", "Open URL from column", "Open URL (custom)". You can enable the "Open URL in the new window" option.

Customize the colors for the data source:

After adding the data source, you can customize the calendar.
Show time.
You can show or hide time from your calendar events. By default it is enables. We've turned it off for our Expenses and Income calendar.
Default date.
You can set which date will be selected by default.
Calendar Height and Width-to-height aspect ratio (2.2 by default).

You can choose a calendar theme from the list:

If you activate the option "Сhange the date & time on the Calendar", you can drag the date on the calendar. The date will also change in the table.


The option "Allow a user to highlight multiple days or timeslots by clicking and dragging" will allow you to highlight a date or date range on the calendar.
Select the form and date fields which will be pre-filled.

Highlight a date or date range on the calendar:

Another options to customize:

Default view
- The initial view when the calendar loads. It can be: Month, Week, Day, Agenda week, Agenda day, List Year/Month/Week/Day.
- Show weekends.
- In month view, whether dates in the previous or next month should be rendered at all.
- Hidden days. For example, you can hide Wednesday from your Calendar.
Header & Footer
You can choose what to show at the top and bottom of your calendar. Fro example, you can choose to show for the left, center and right side:
- Next & Previous navigation buttons. To switch between dates.
- Title. To show current date and view name.
- Today button will switch you back to the current day.
- Month, Week, Day, Agenda week, Agenda day, List Year/Month/Week/Day buttons to be able to switch Calendar view at any time.
Business hours
You can specify your schedule, for example, Monday-Friday, 9am-5pm.
Valid and visible date ranges
You can choose which dates will be visible and valid on your calendar.
Advanced options
- Right-to-left text direction.
- Allow a user to highlight multiple days or timeslots by clicking and dragging.
- Limit the number of events displayed on a day.
- Choose calendar's Language.
- Choose calendar's time zone.
To embed the calendar widget on your site, go to the "Integration" tab and copy the required code.

Read how to add a search form to the calendar by this link.

Video tutorial (old interface):
 English
 Italiano
 Español
 Français
 Deutsch
 Português
 Ελληνικά
 Nederlands
 Polski
 Čeština
 中文
中文
 日本語
日本語
 हिन्दी
 اللغة العربية
 Русский
 Українська
 עִברִית
 Türk
Türk
 Latvietis
 Dansk
Dansk
 Norsk
Norsk
 Íslenska
 한국어
한국어
 Suomen
 Gaeilge
 Bahasa Melayu
 Svenska
 English
 Log In


