Introducing the new Telegram integration module! Learn how to automate notifications about orders, clients, and other data to save time and always stay in touch with your business.
Imagine your business communicating with clients as if it were always by its side. Imagine that no important notification is ever missed. The new Messaging Integrations module from QuintaDB, which connects external Channels like Telegram and WhatsApp, was created for exactly this. These connections power your QuintaChat omnichannel workspace, elevating communication to a new level.
🔹 For online stores: Forget about forgotten orders! Automatically inform clients about every stage, from "Your order has been shipped" to "Ready for pickup" via their preferred channel.
🔹 For the service industry: Remind clients about appointments, send exclusive offers, and personalized discounts directly to Telegram or WhatsApp, and manage all conversations centrally in QuintaChat.
🔹 For internal processes: Set up instant notifications for your team so everyone is aware of a change in application status, the assignment of a new client, or any other event in the system.
This tool fully automates routine communications, allowing you to focus on strategically important tasks.
In the first part of our guide, we will provide a detailed overview of creating integrations and adding Contacts.
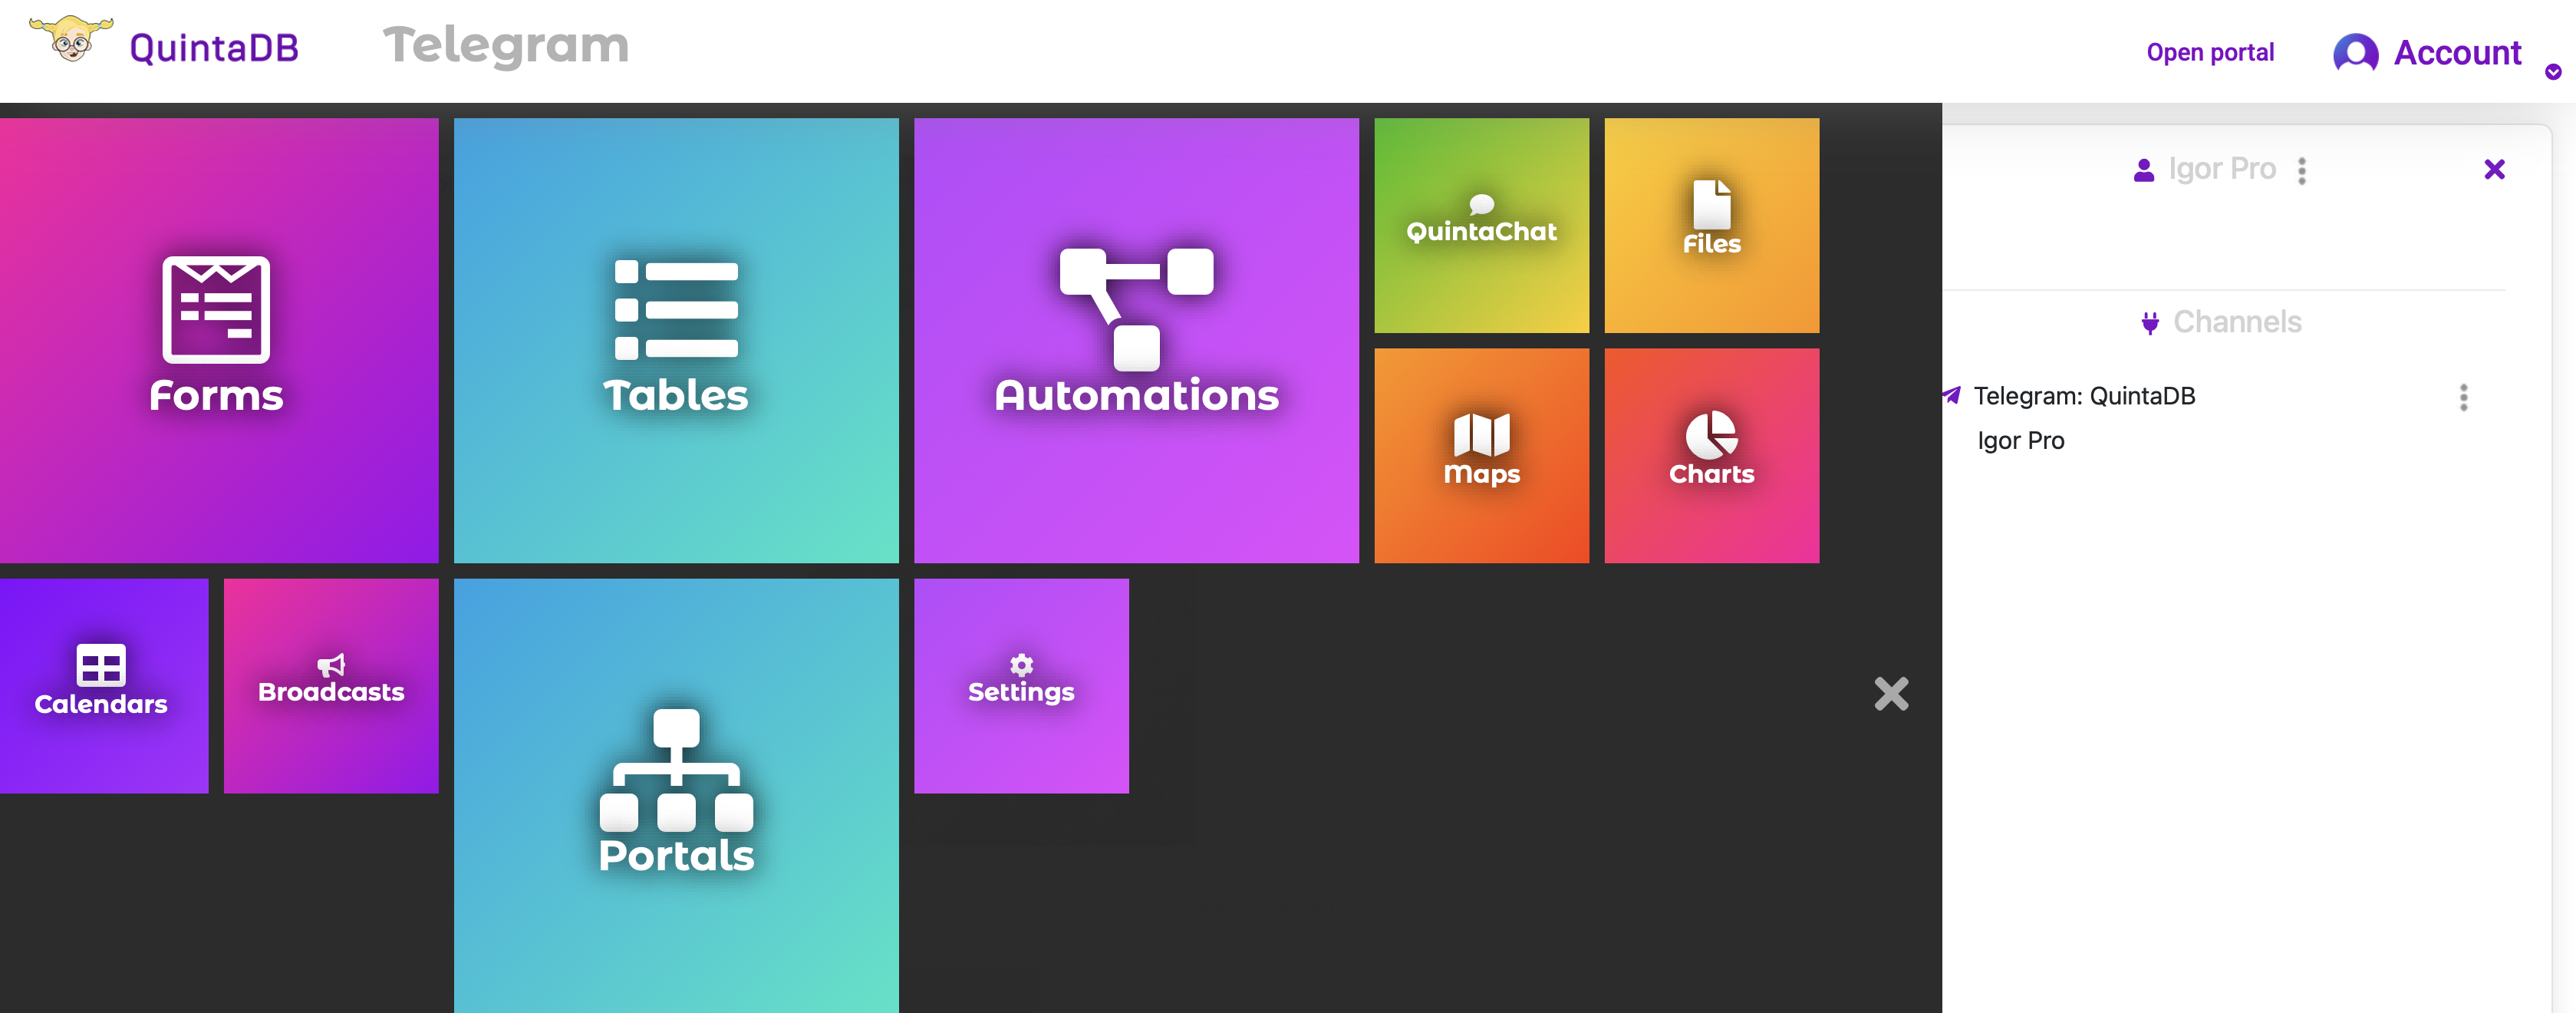
A new element—the QuintaChat module—has appeared in your project menu.
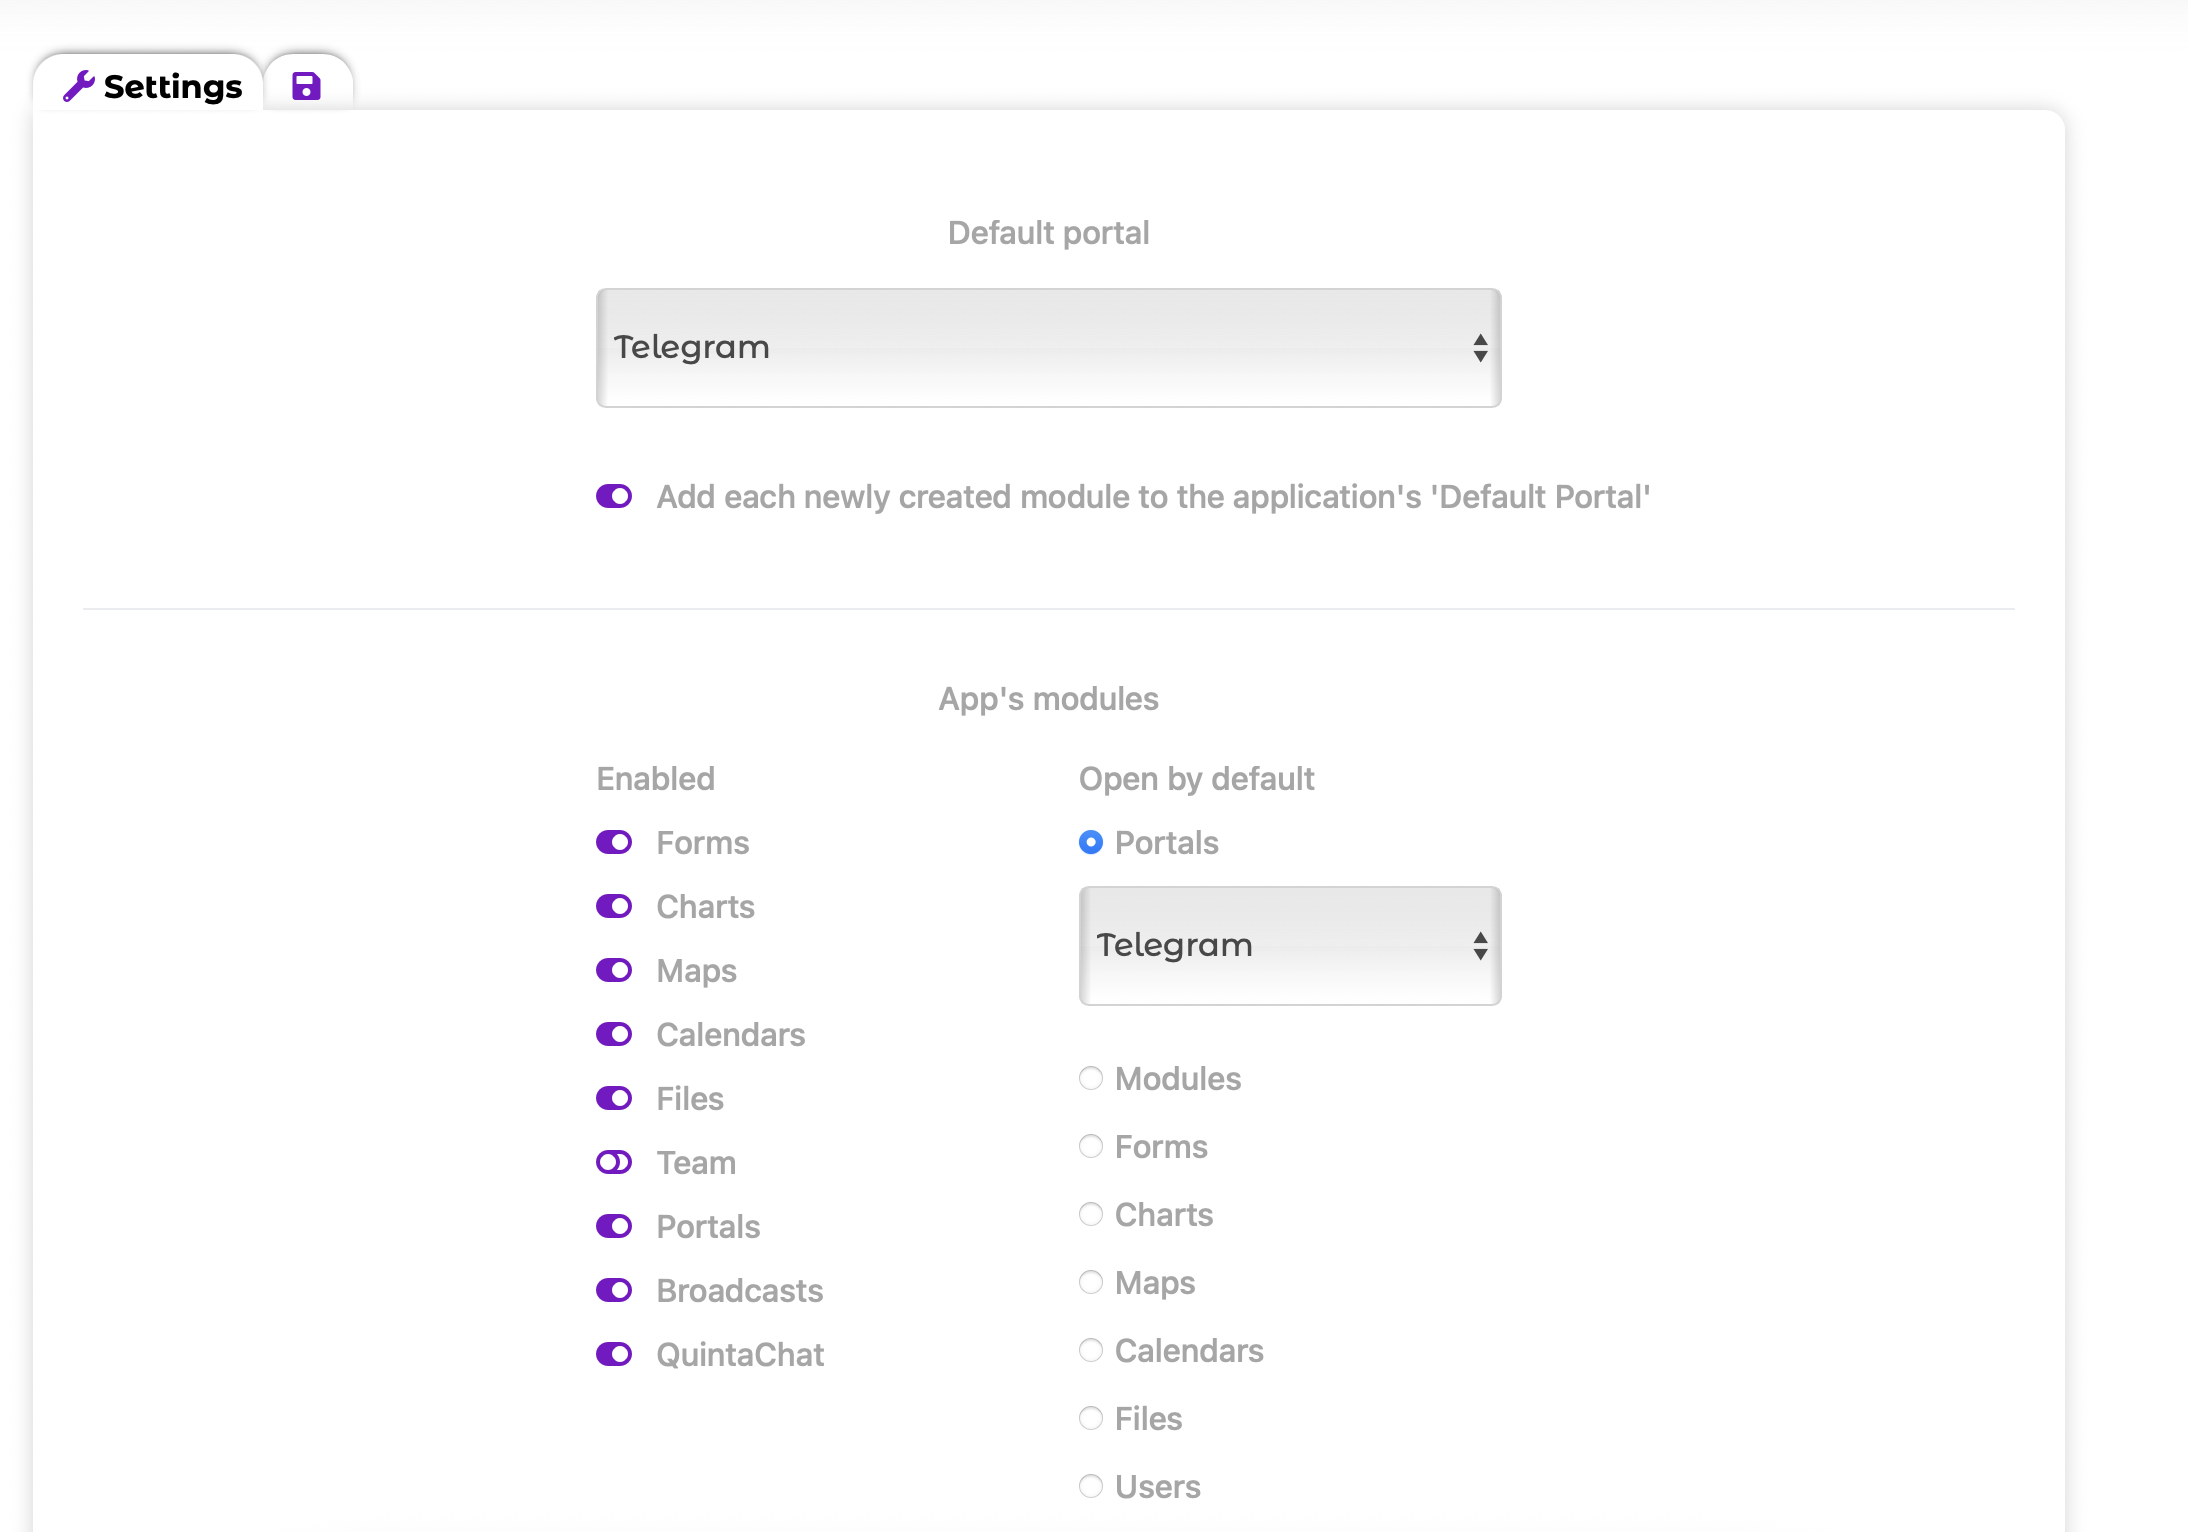
You can turn it on or off at any time on the project's Settings page.
When you navigate to the new module, you will see two tabs: Integrations and QuintaChat. To enable messaging, you must first create an integration. The integration can be your own Telegram bot or a WhatsApp number. This Integrations page is used only for connecting external communication channels (like Telegram and WhatsApp). The entire operational logic, conversation management, and bot behavior must be configured in the separate, dedicated QuintaChat module.
The QuintaChat module is your central workspace for creating bot logic, managing dialogues, and handling omnichannel communications. Before you can utilize it, you must connect the channels it will use (such as Telegram or WhatsApp).
To set up a channel connection that will feed into QuintaChat:
Once the channel is successfully connected on the Integrations page, you can proceed to the separate QuintaChat module to build your bot's behavior and start managing conversations.
To create a new integration, fill in the following form fields:

To get a token, open BotFather in Telegram, type the `/newbot` command, and follow the instructions. BotFather will provide you with an access token. If you didn't save the token, you can get it again by entering the `/token` command and selecting your bot.
Successful Connection Message (optional) - the text that the user will see after a successful activation.
"Enabled" Button - determines whether this integration will be active in QuintaDB.
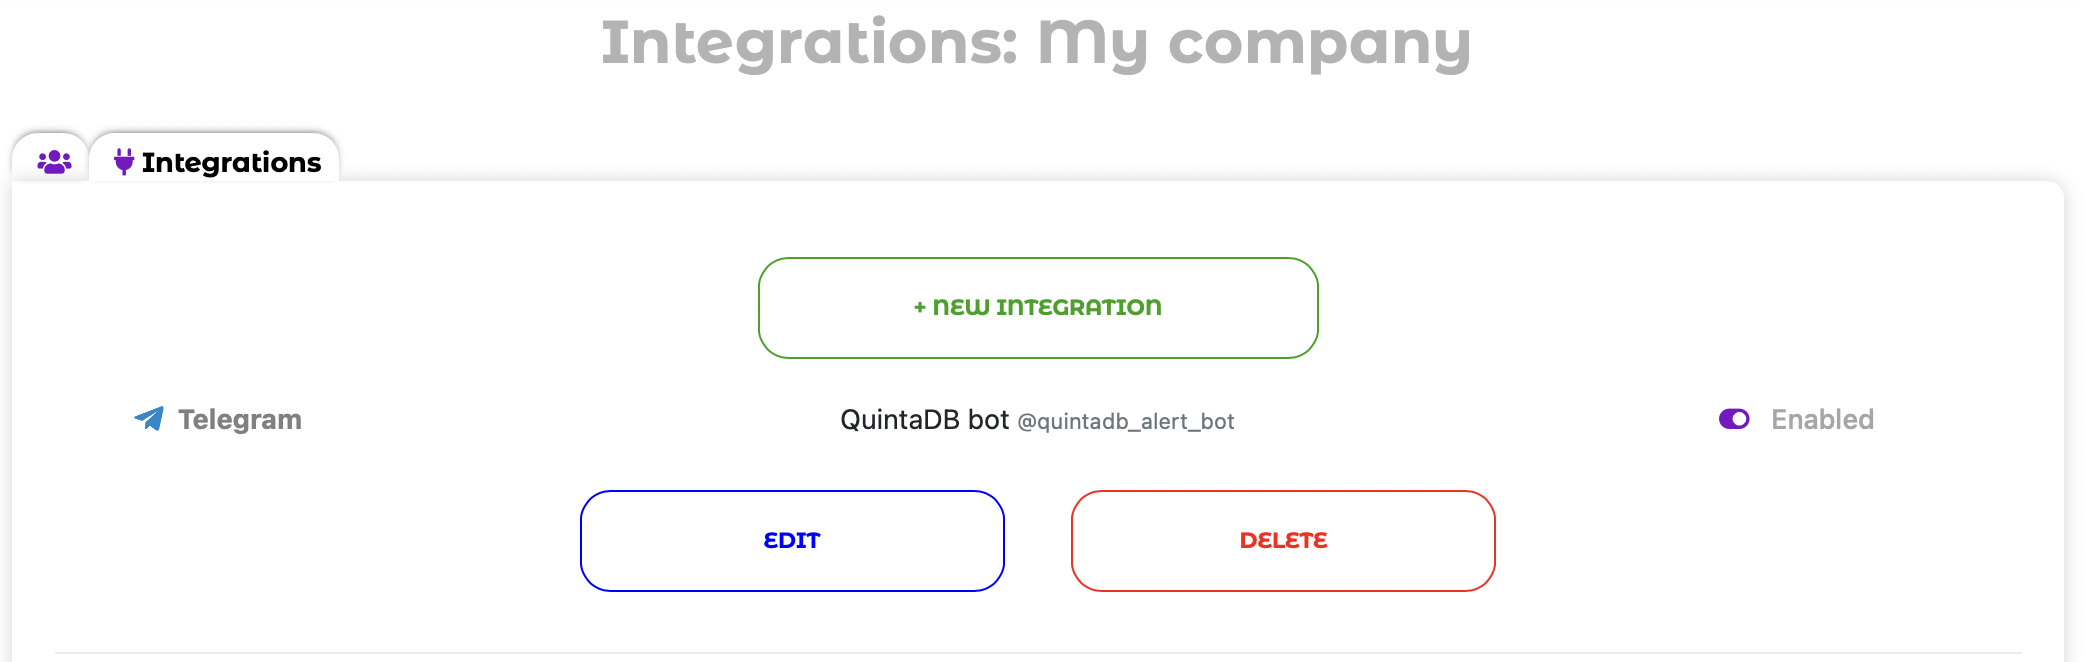
After creating the integration, you can manage it on the Integrations tab, where you can edit, delete, or deactivate it.
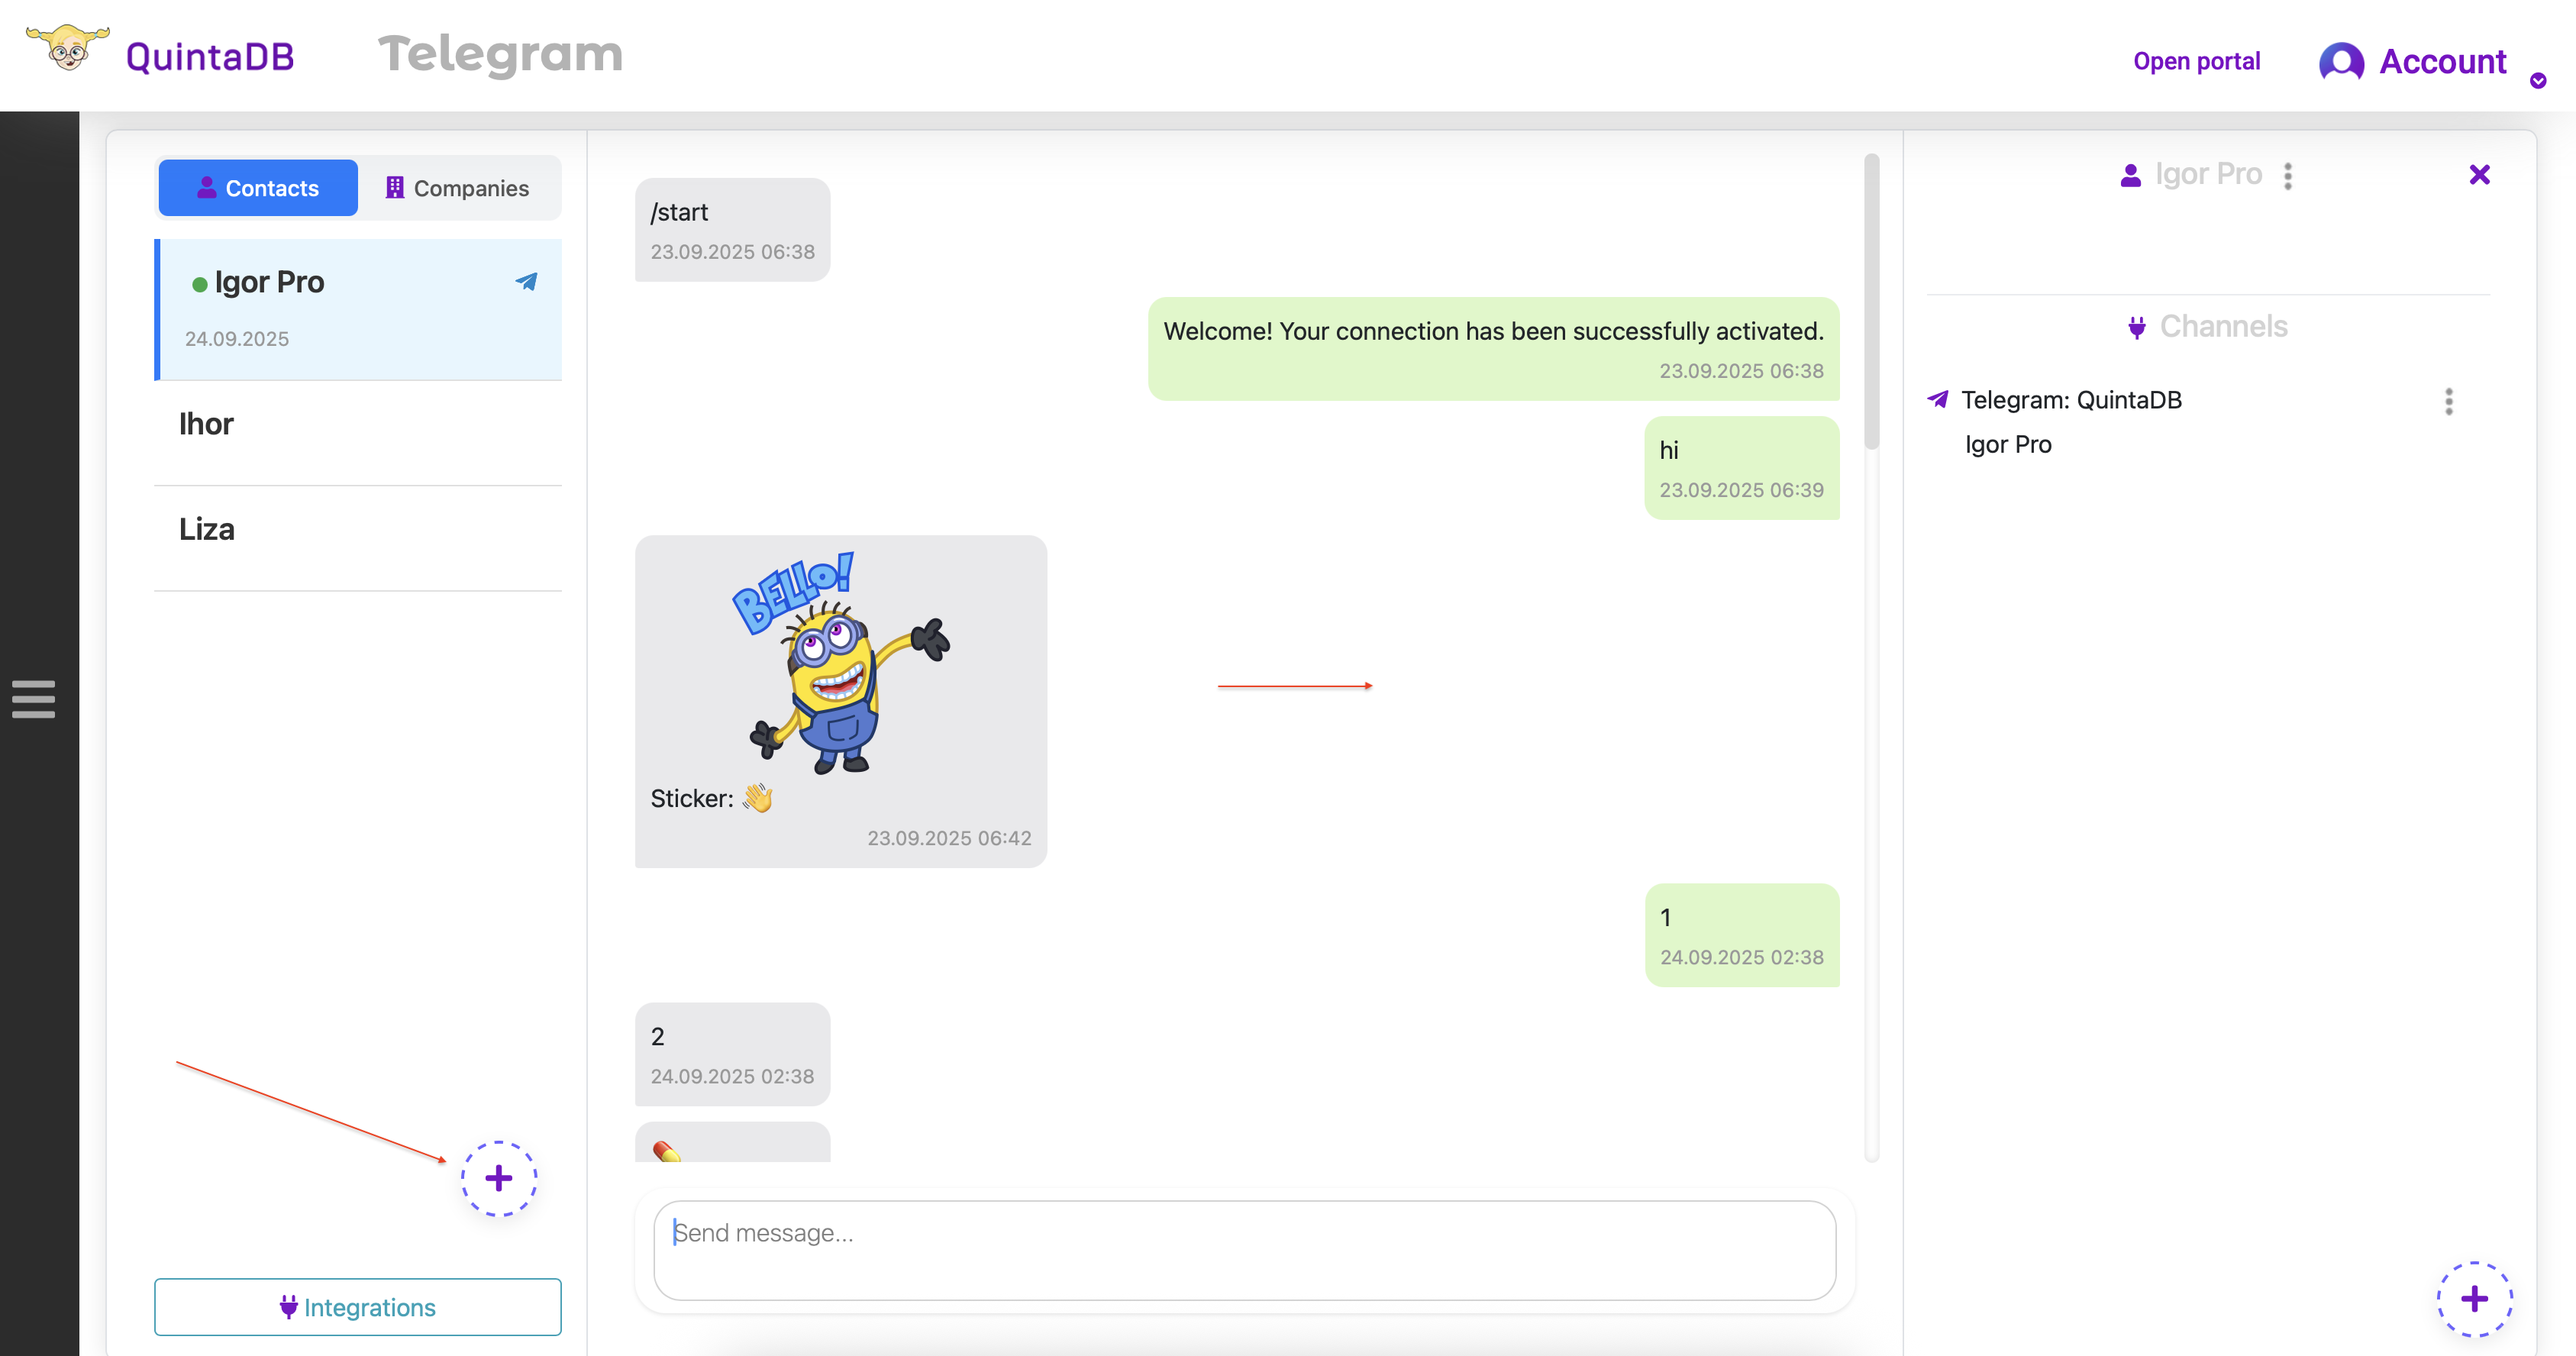
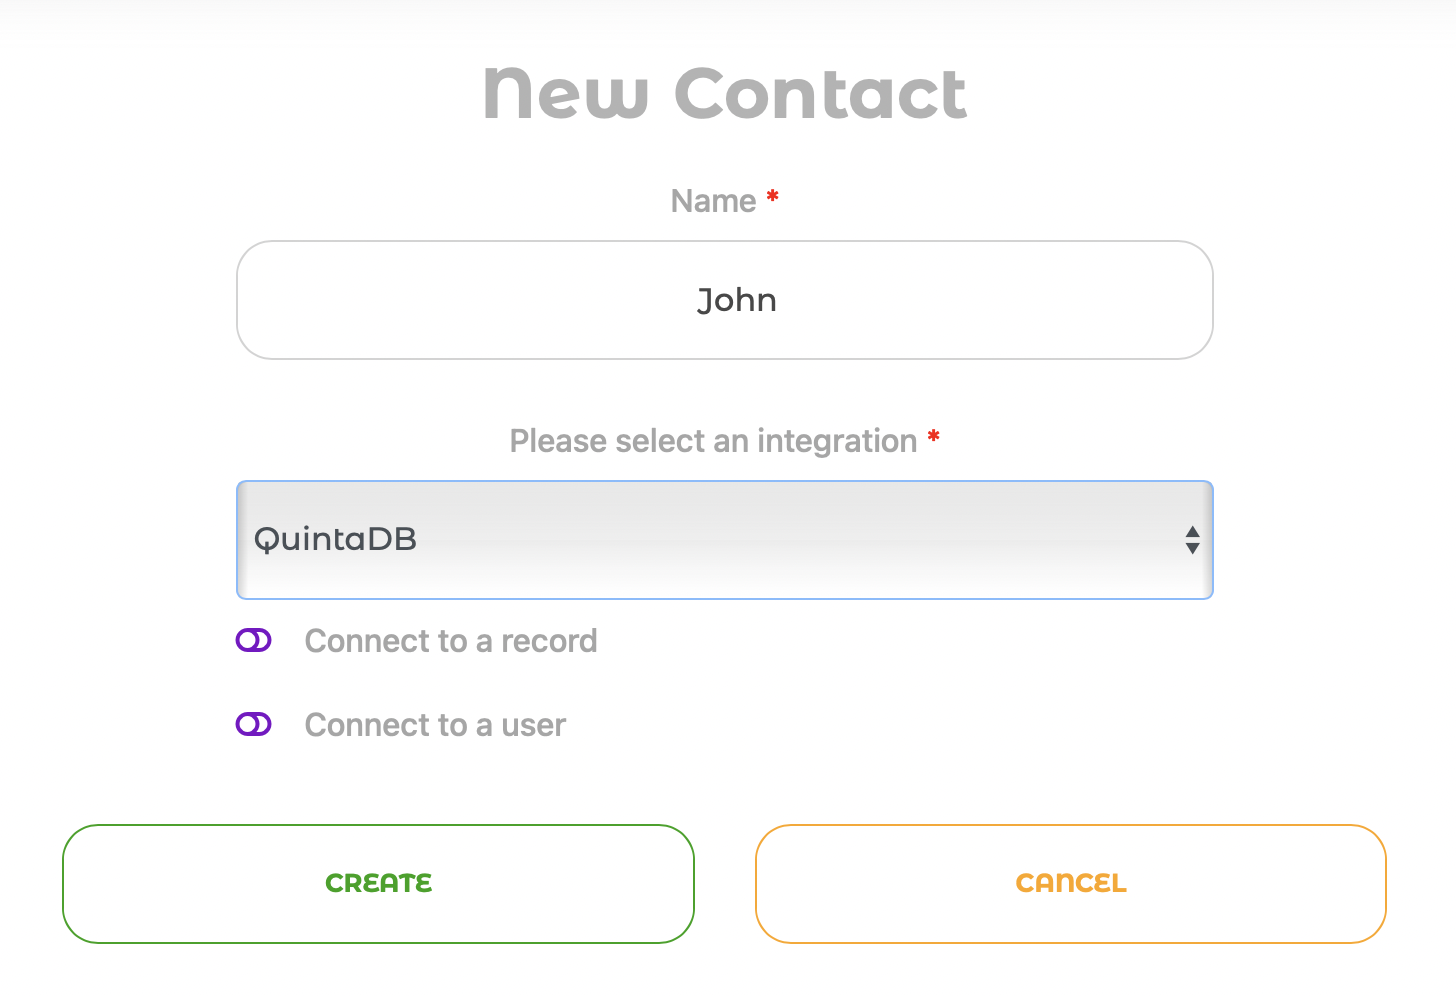
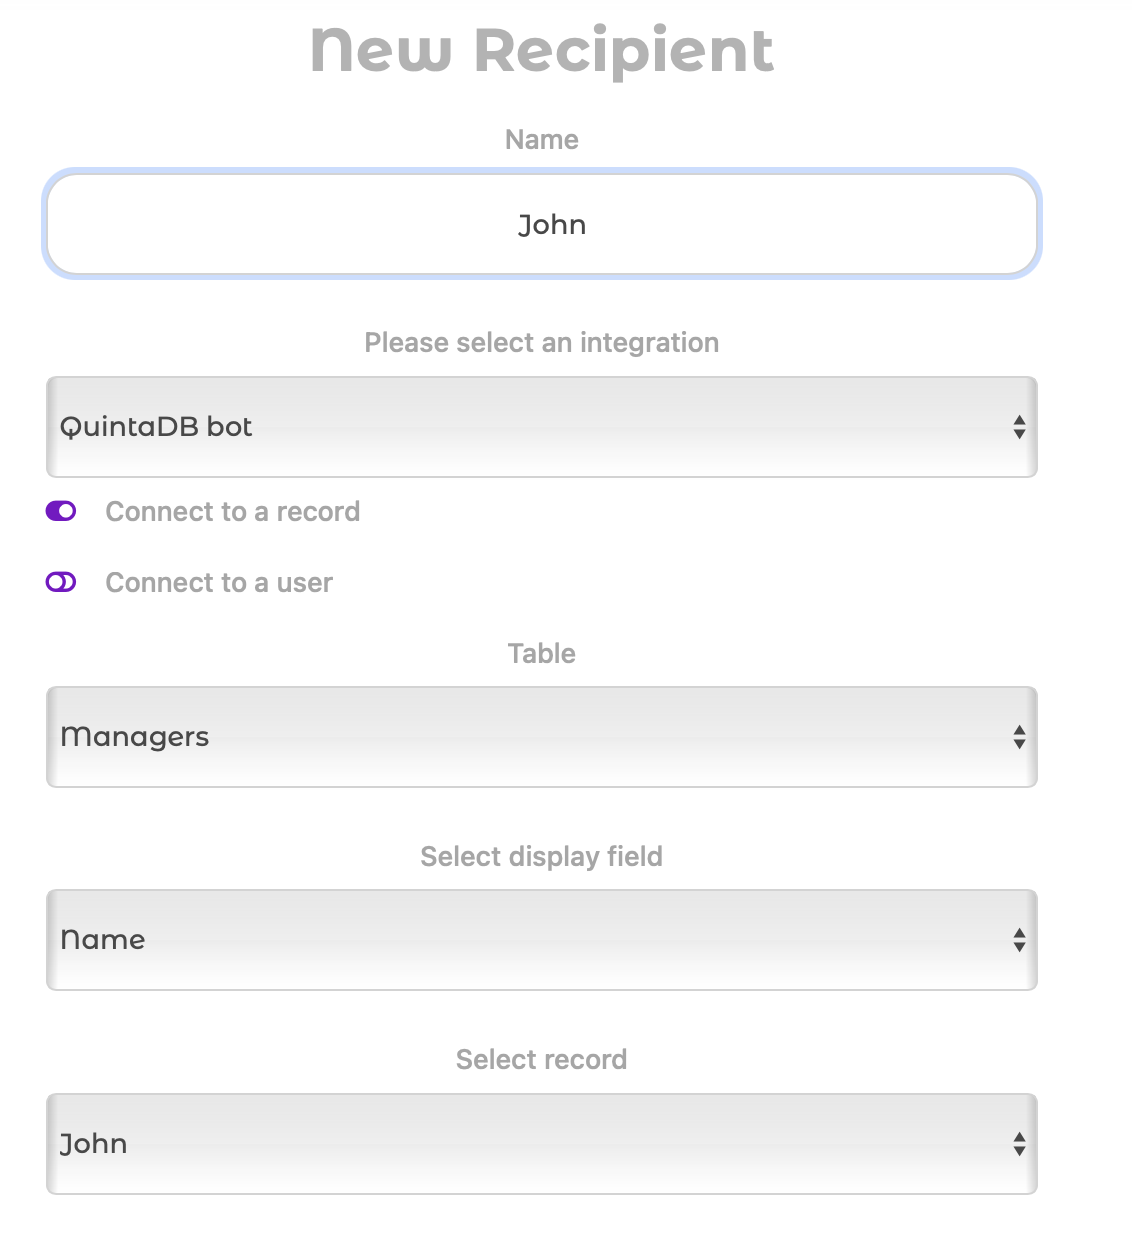
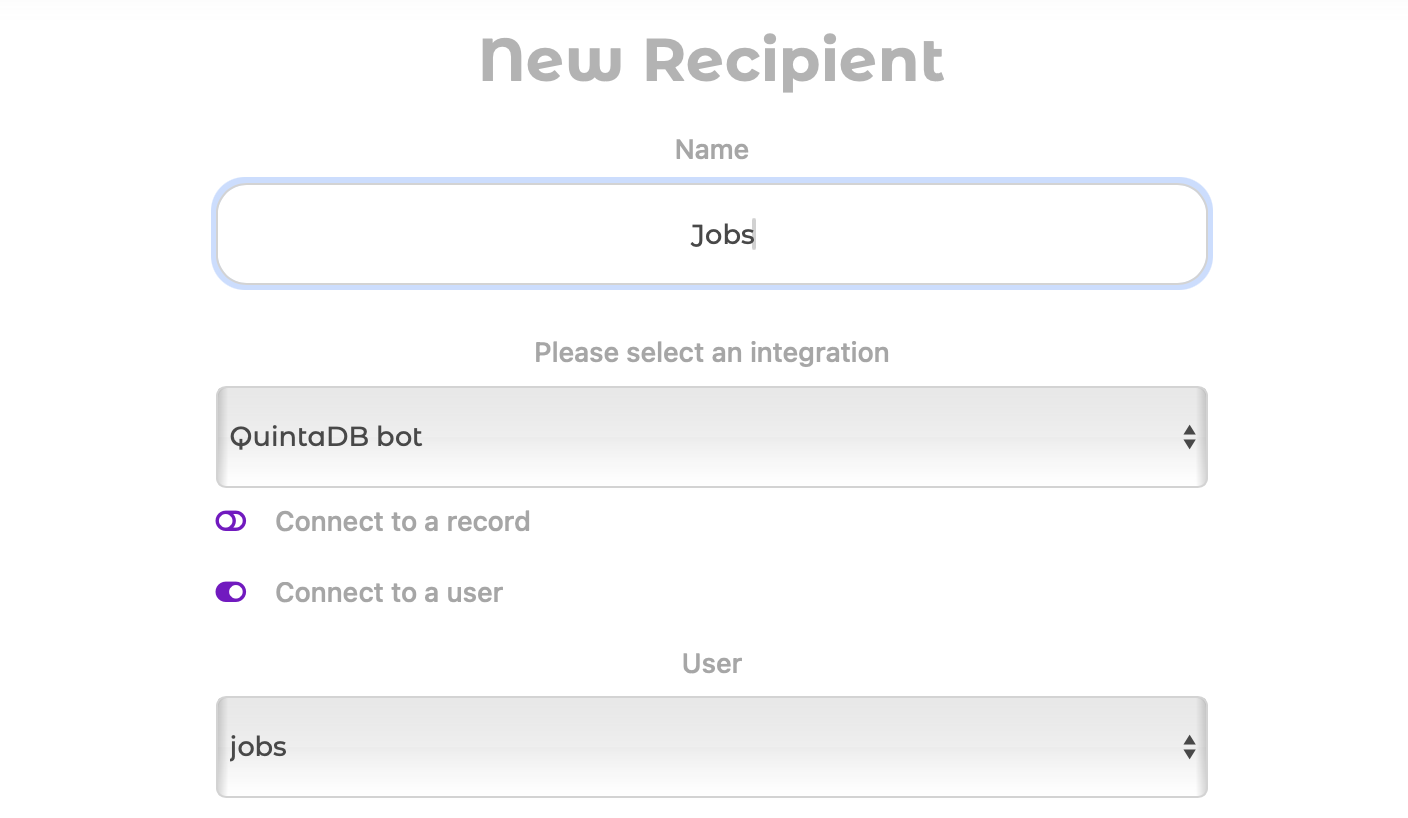
There are three types of contacts in QuintaDB:
To add a new contact, enter their name, select the integration, and the connection type: "Link to a record" or "Link to a user."
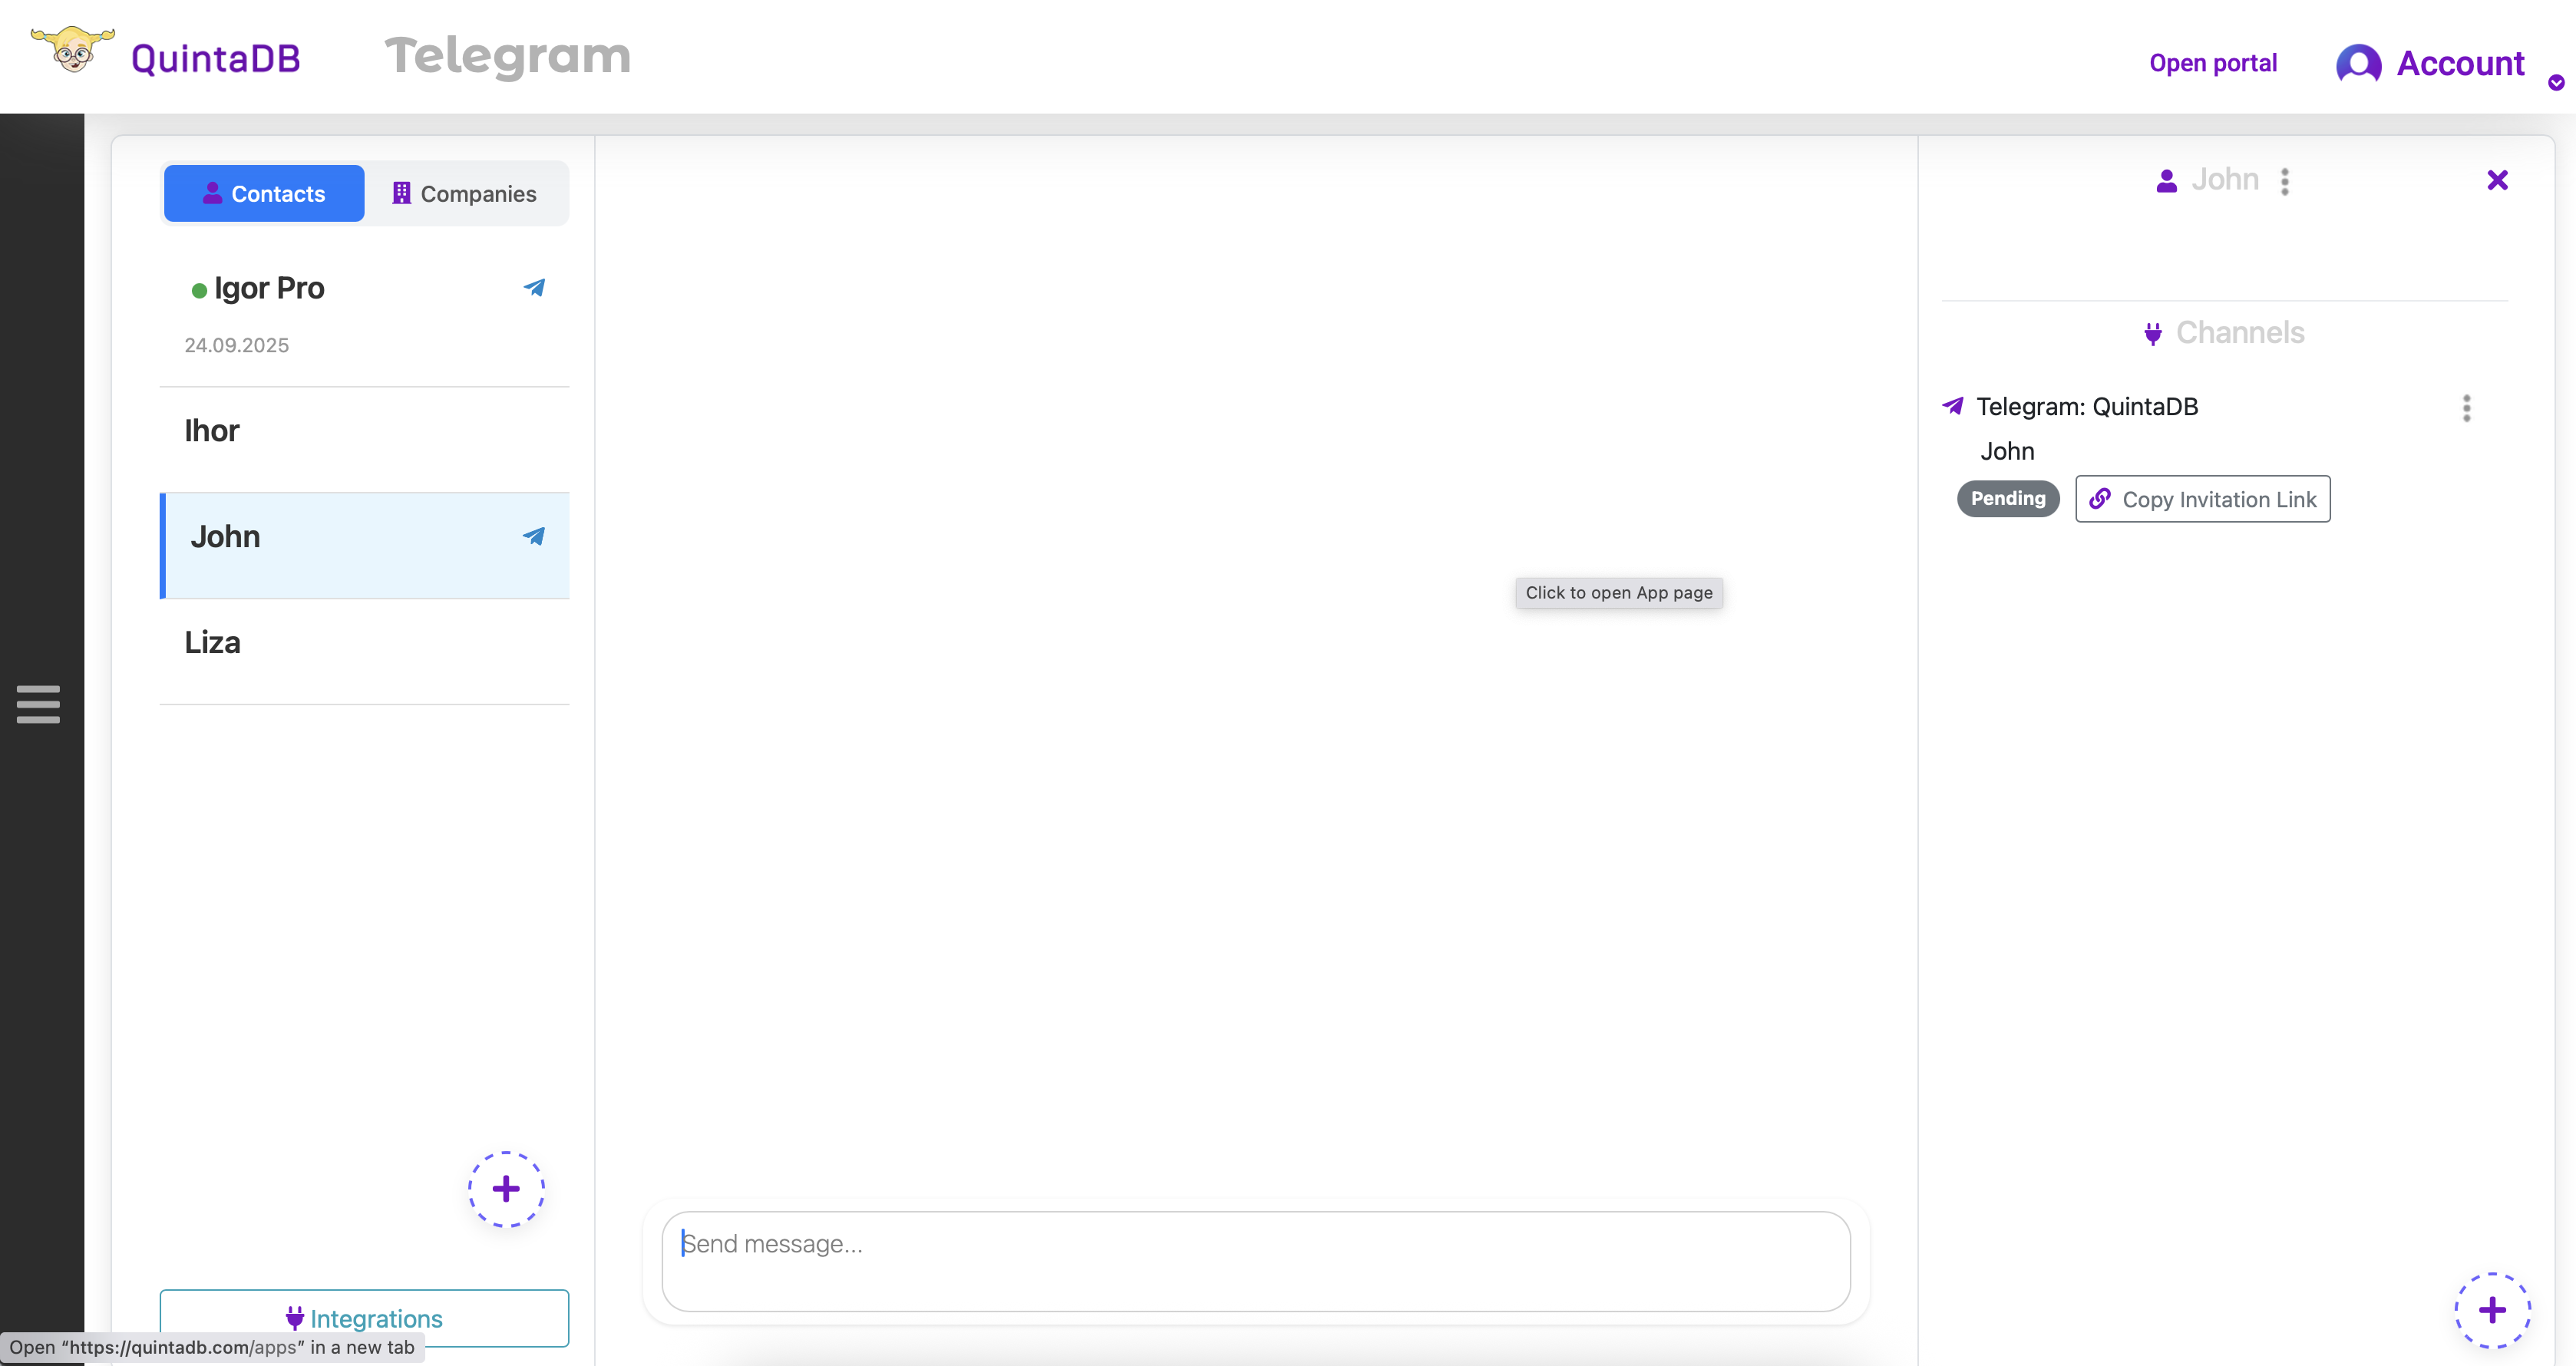
After creating a contact, the recipient receives the status "Pending". Activation occurs via a link. To get started, you need to transfer it to the user manually, by copying or through the Automation or Newsletter mechanism. Your new contact must open the link to confirm their desire to receive notifications.
When the link is opened in a browser, the user will be prompted to allow the bot to open.

Ultimately, they will see a message about a successful connection, the text of which can be changed in the integration settings.
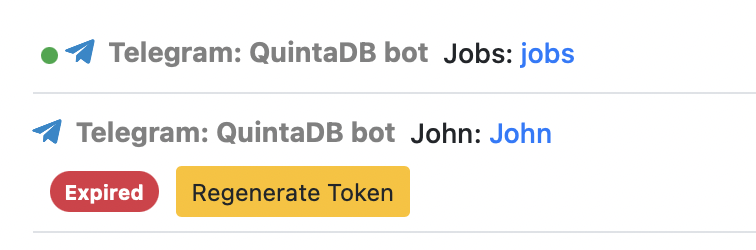
The invitation link is valid for 24 hours. If the connection is not activated within this time, the link will become inactive with the status "Expired."
To reactivate the link, simply click the "Restore token" button.
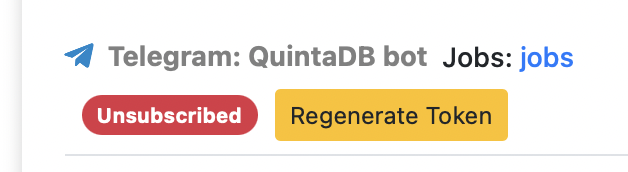
The user can unsubscribe from the bot's messages at any time by running the command /stop. In this case, you will see the status "Unsubscribed."
To start receiving messages again, the user needs to reactivate the connection. To do this, you can use the "Restore token" button, which will make the link active again.
Manually sending an invitation link to each user is not always convenient. Therefore, QuintaDB has added the ability to insert invitation links into any notification template.
For example, in an email broadcast, an Automation (an email with a link is sent when a condition is triggered), or an Action button (an email is sent when a button is clicked). This allows you to fully automate the process of connecting clients to Telegram: as soon as a new application appears in your table, the system automatically sends the client an email with a personal invitation link.
When creating a notification template, there is always a link below the email text input field: How to insert record data:
By clicking on it, you will find the section Invitation Link for Messaging Integration.
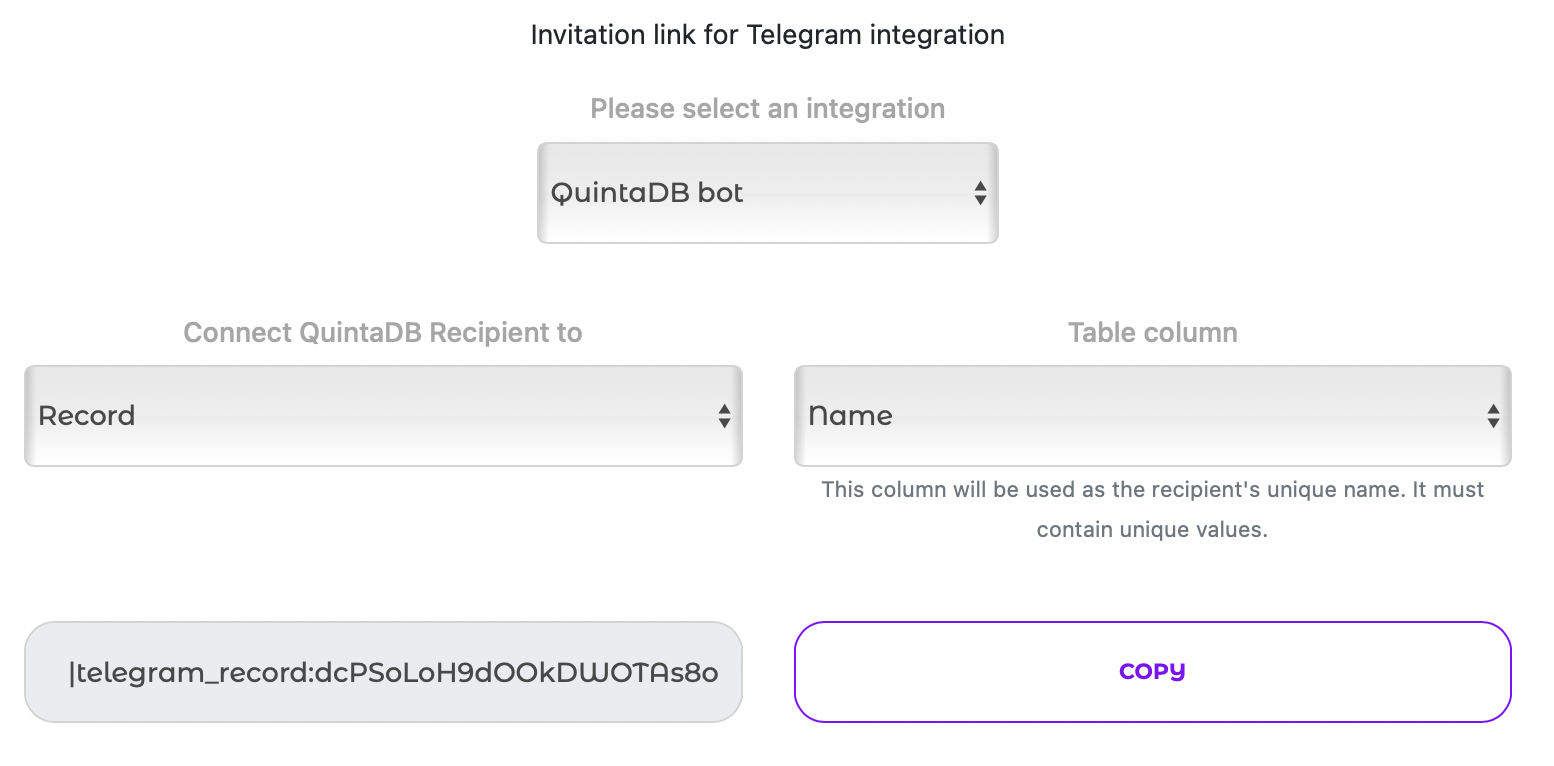
To create the correct link template, you need to:
1. Select the messaging Integration (your bot or QuintaChat)
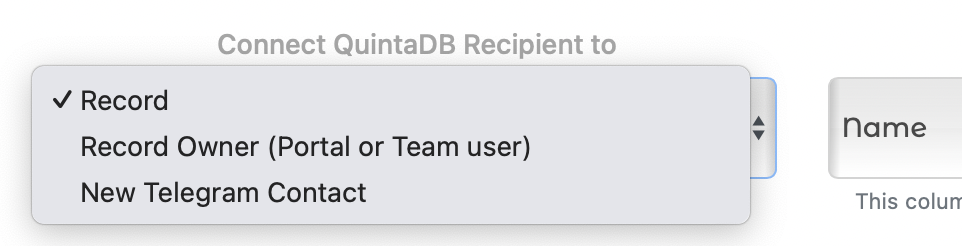
2. Select one option from "Link QuintaDB recipient to": Record, Record Owner (Portal or Team User), or New Contact
3. Select a table column. This column will be used as a unique recipient name. It is very important that it contains unique values, otherwise the system will not be able to correctly link the recipient to the record.
After this, copy the generated link template and paste it into the email. When the email is sent, a new invitation link will be created, or an existing one will be sent.
You can create broadcasts for groups of recipients linked to specific data. This is useful when you need to send a message to several clients, record owners, or other contacts at once. There are two ways to send a broadcast: manually and automatically.
- In the Data Menu
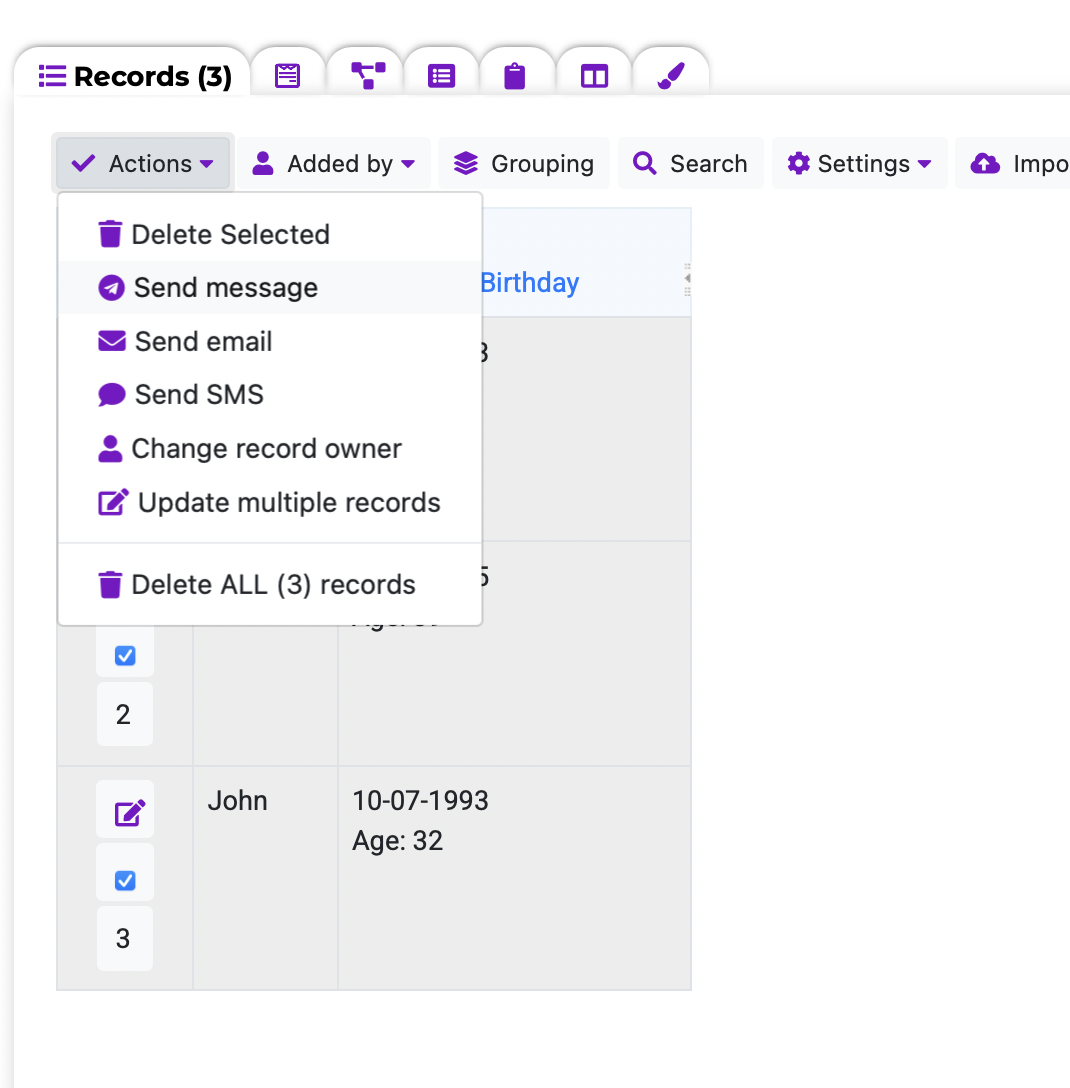
Go to the Data menu, select the records you want to send the broadcast to, and in the Actions control, click Send Message:
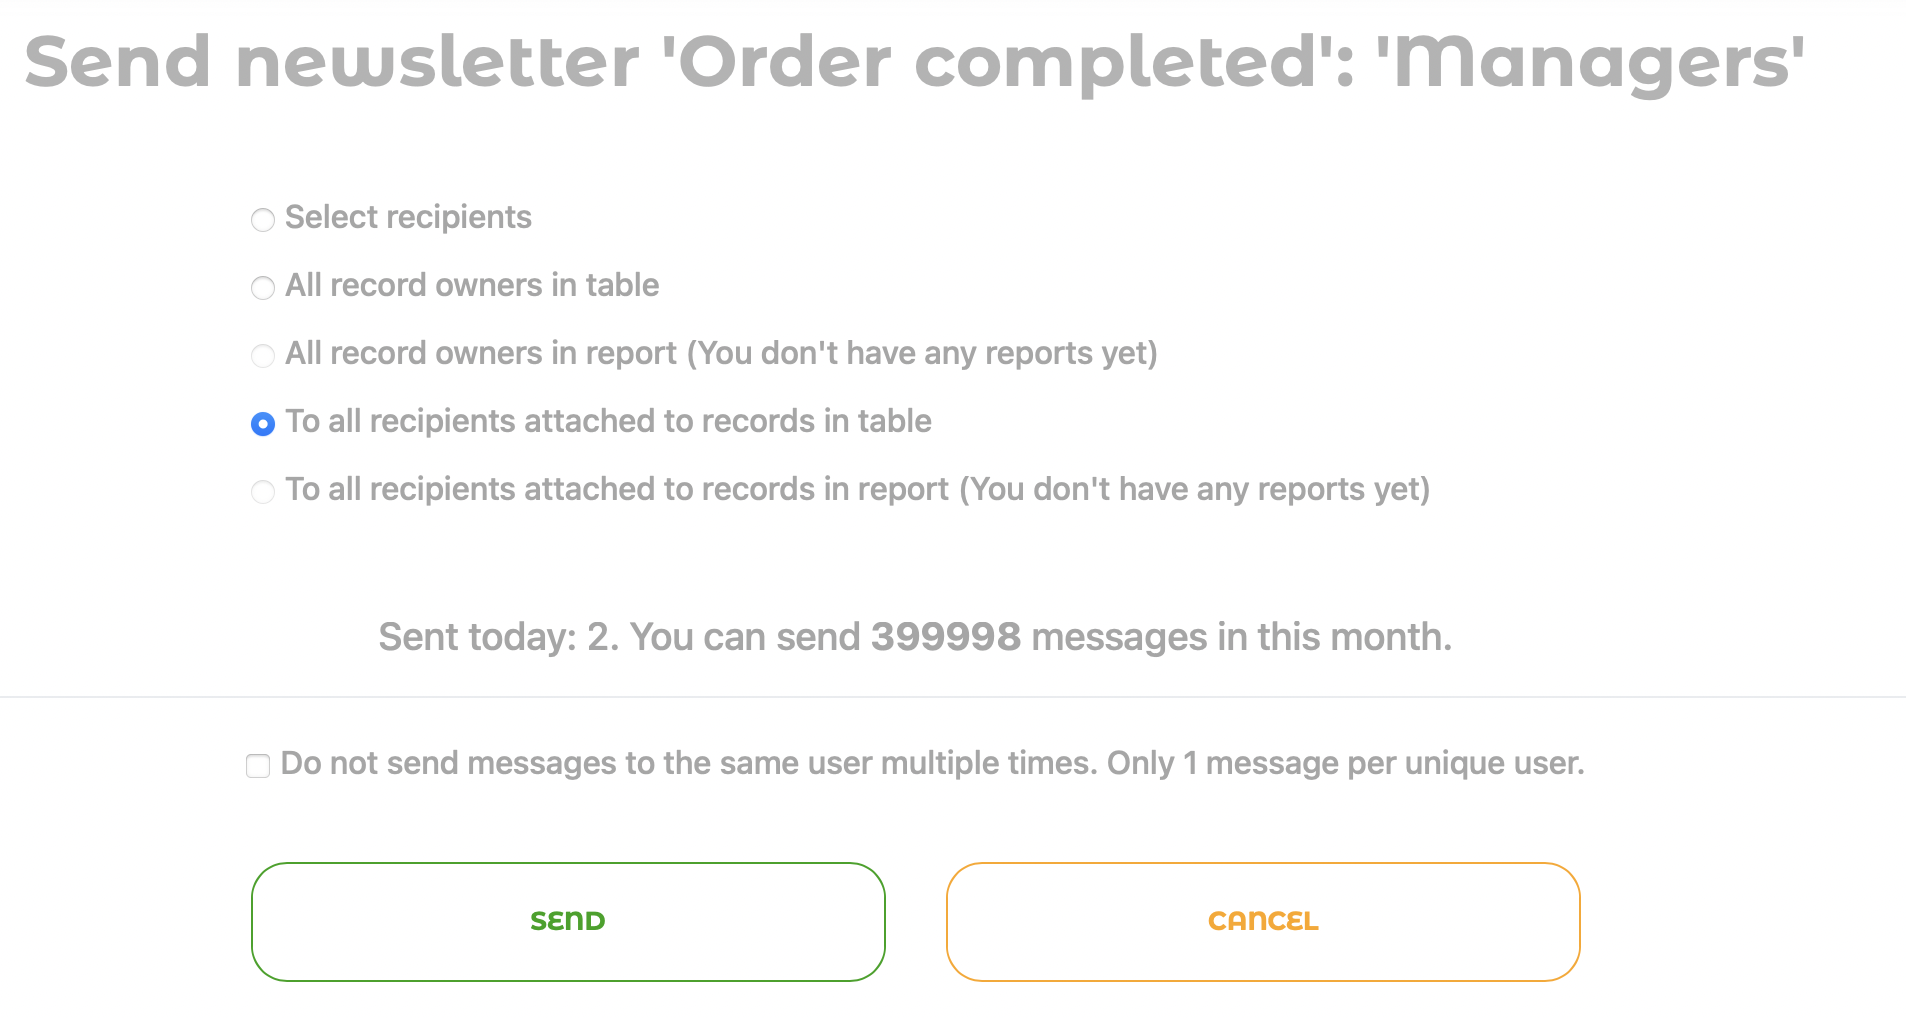
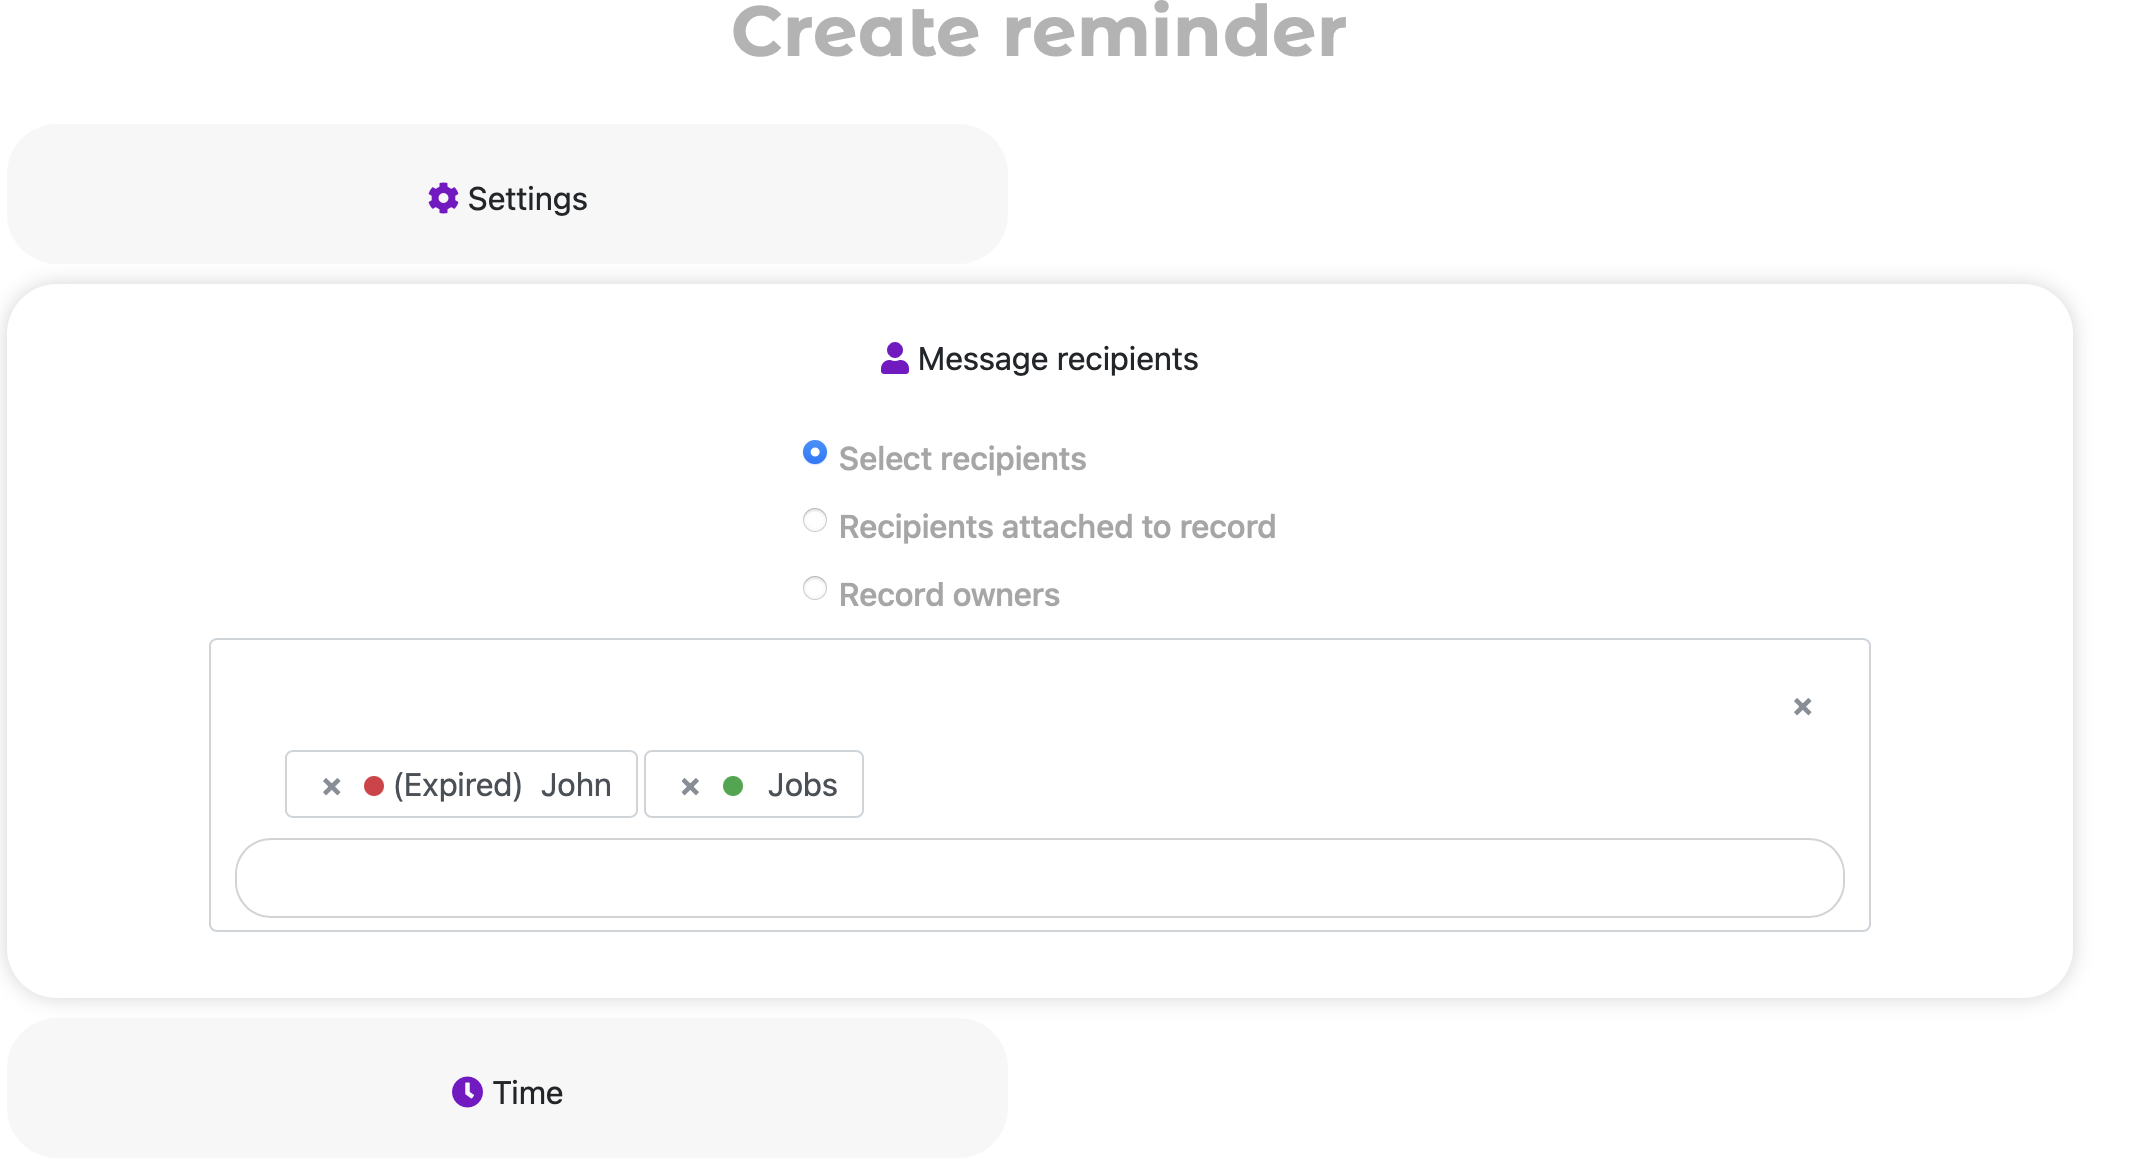
After this, you will be taken to the broadcast sending page. You need to select Recipients, which can be:
1. Selected recipients - in the field with autocompletion, you choose from all recipients (which can always be seen in the Integrations module).
2. Recipients attached to the record (using the selected integration: Telegram, WhatsApp, or QuintaChat)
3. Record owners
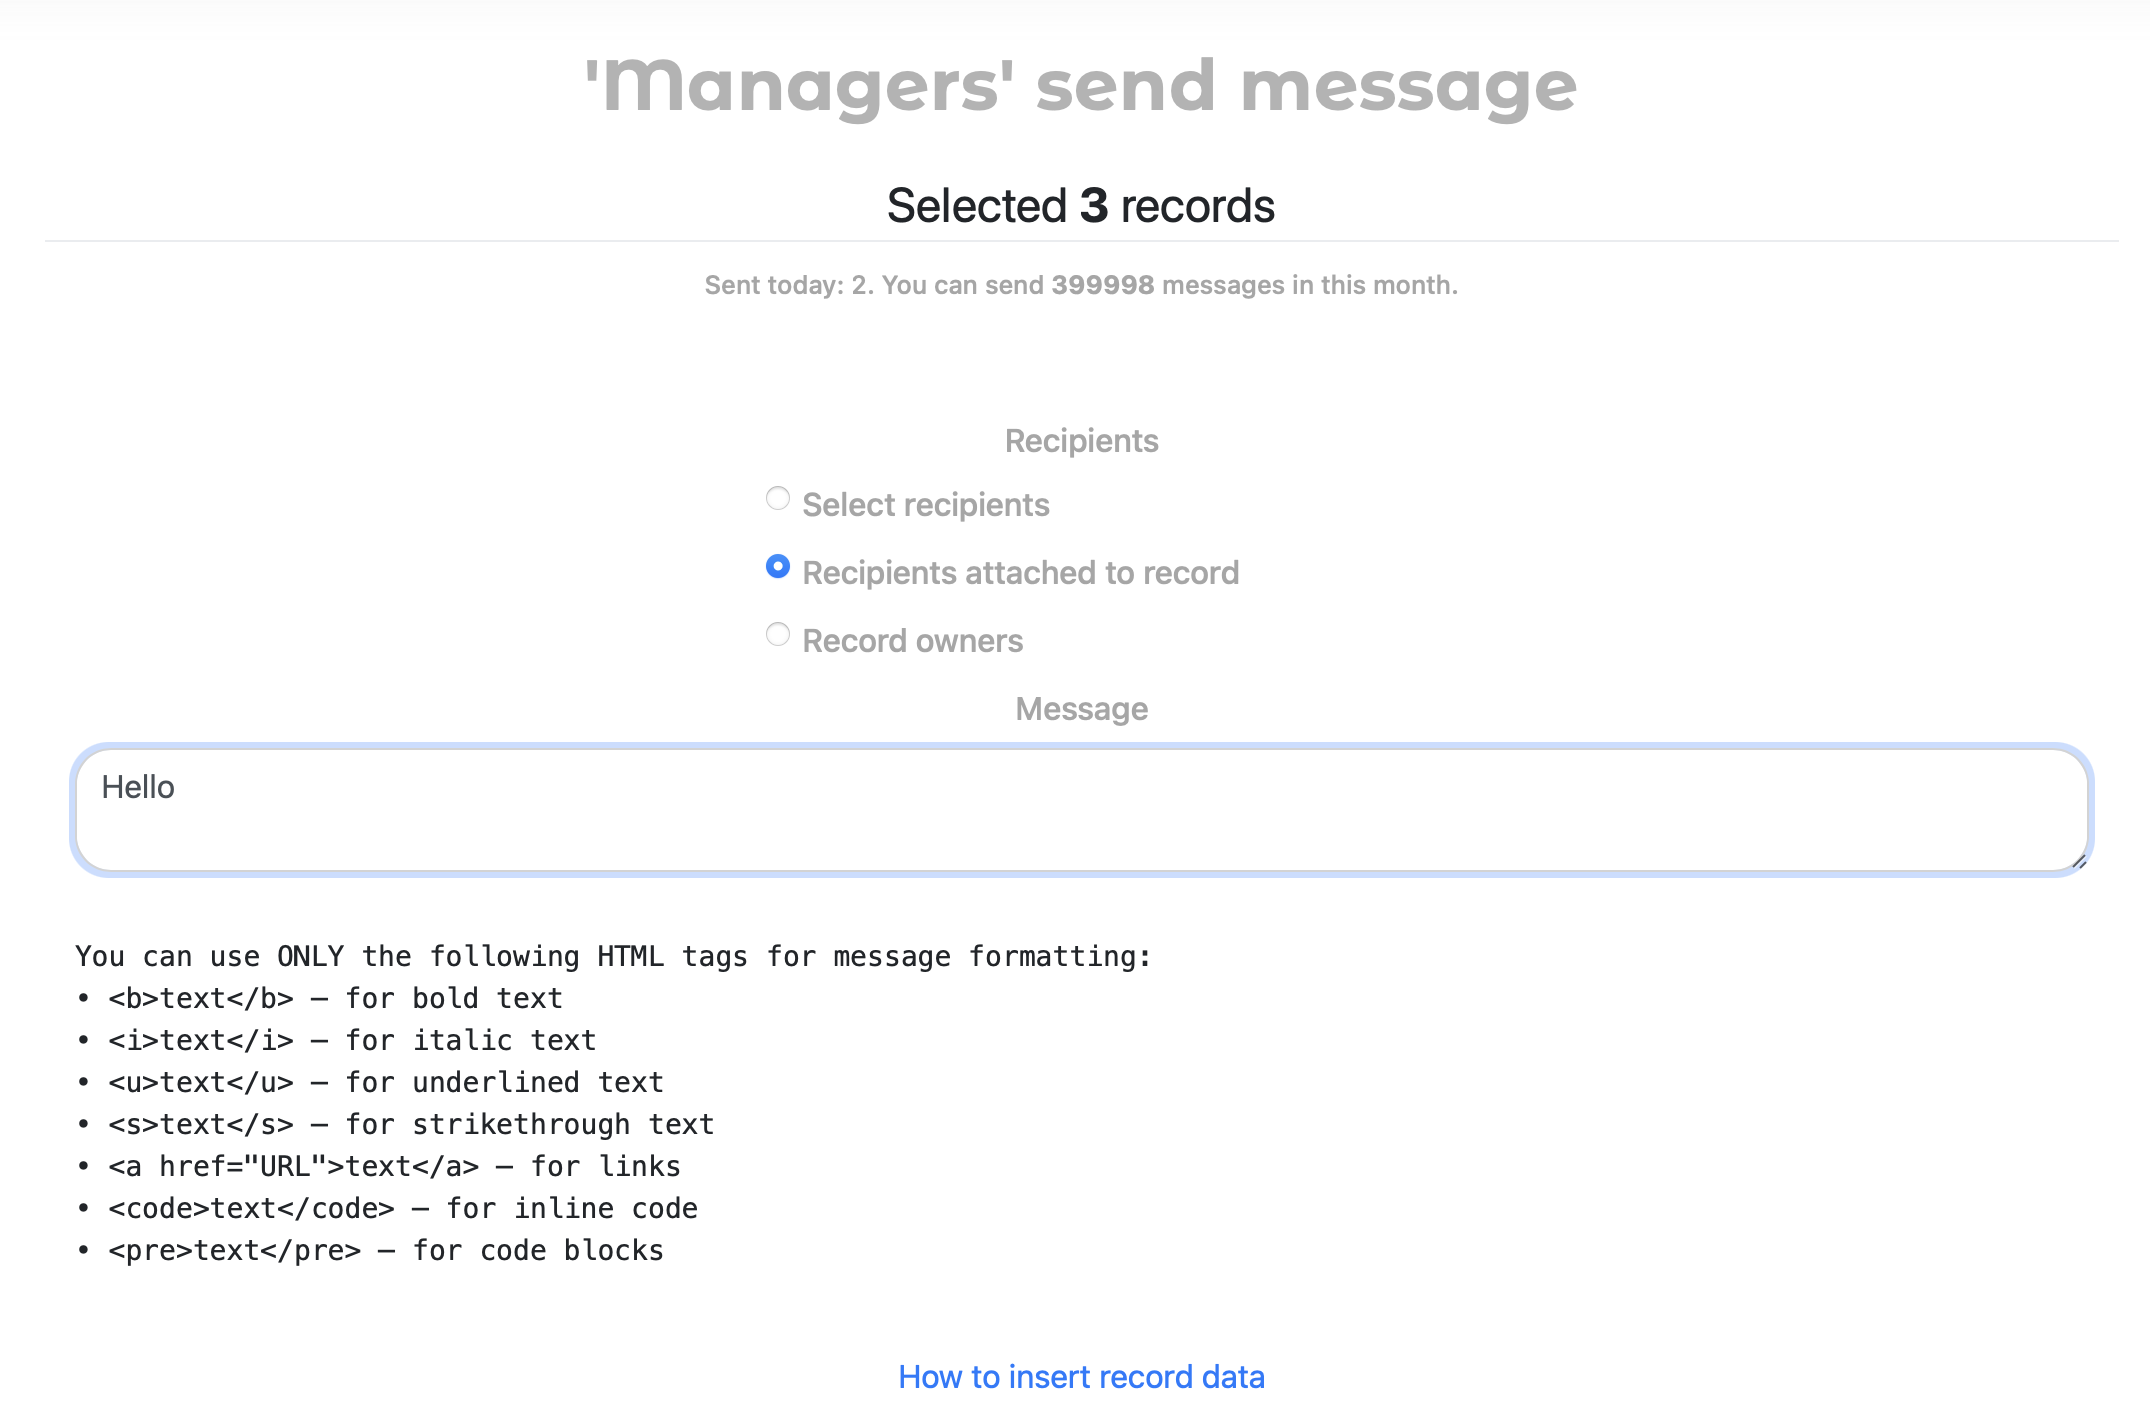
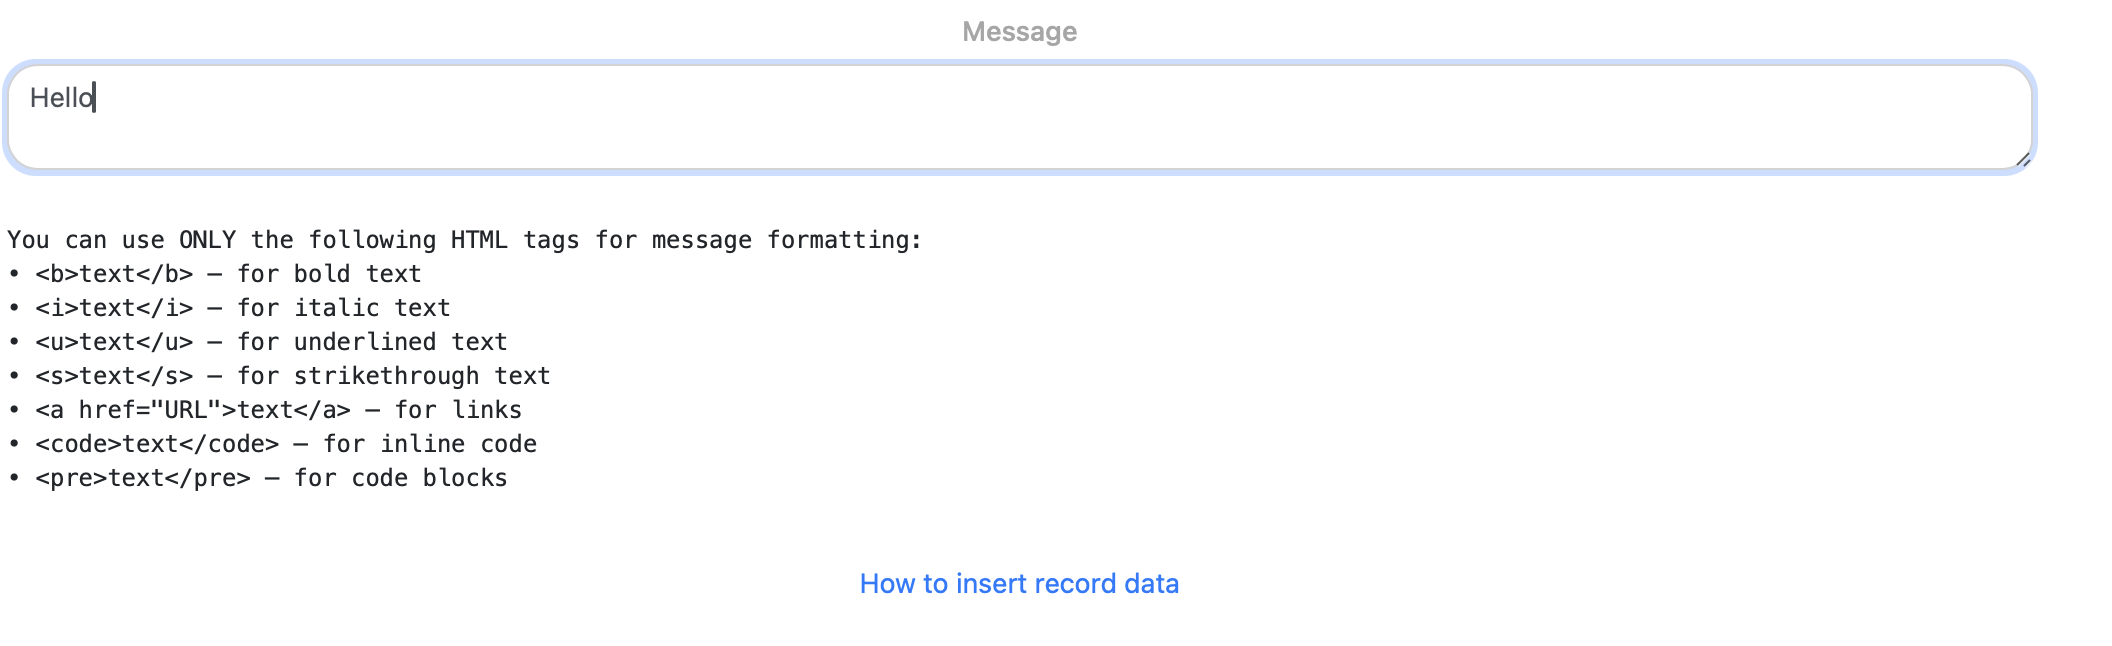
Next, you must enter the message. For text formatting, you can use the following (and only the following) tags:
• <b>text</b> — for bold text
• <i>text</i> — for italics
• <u>text</u> — for underlined text
• <s>text</s> — for strikethrough text
• <a href="URL">text</a> — for links
• <code>text</code> — for inline code
• <pre>text</pre> — for code blocks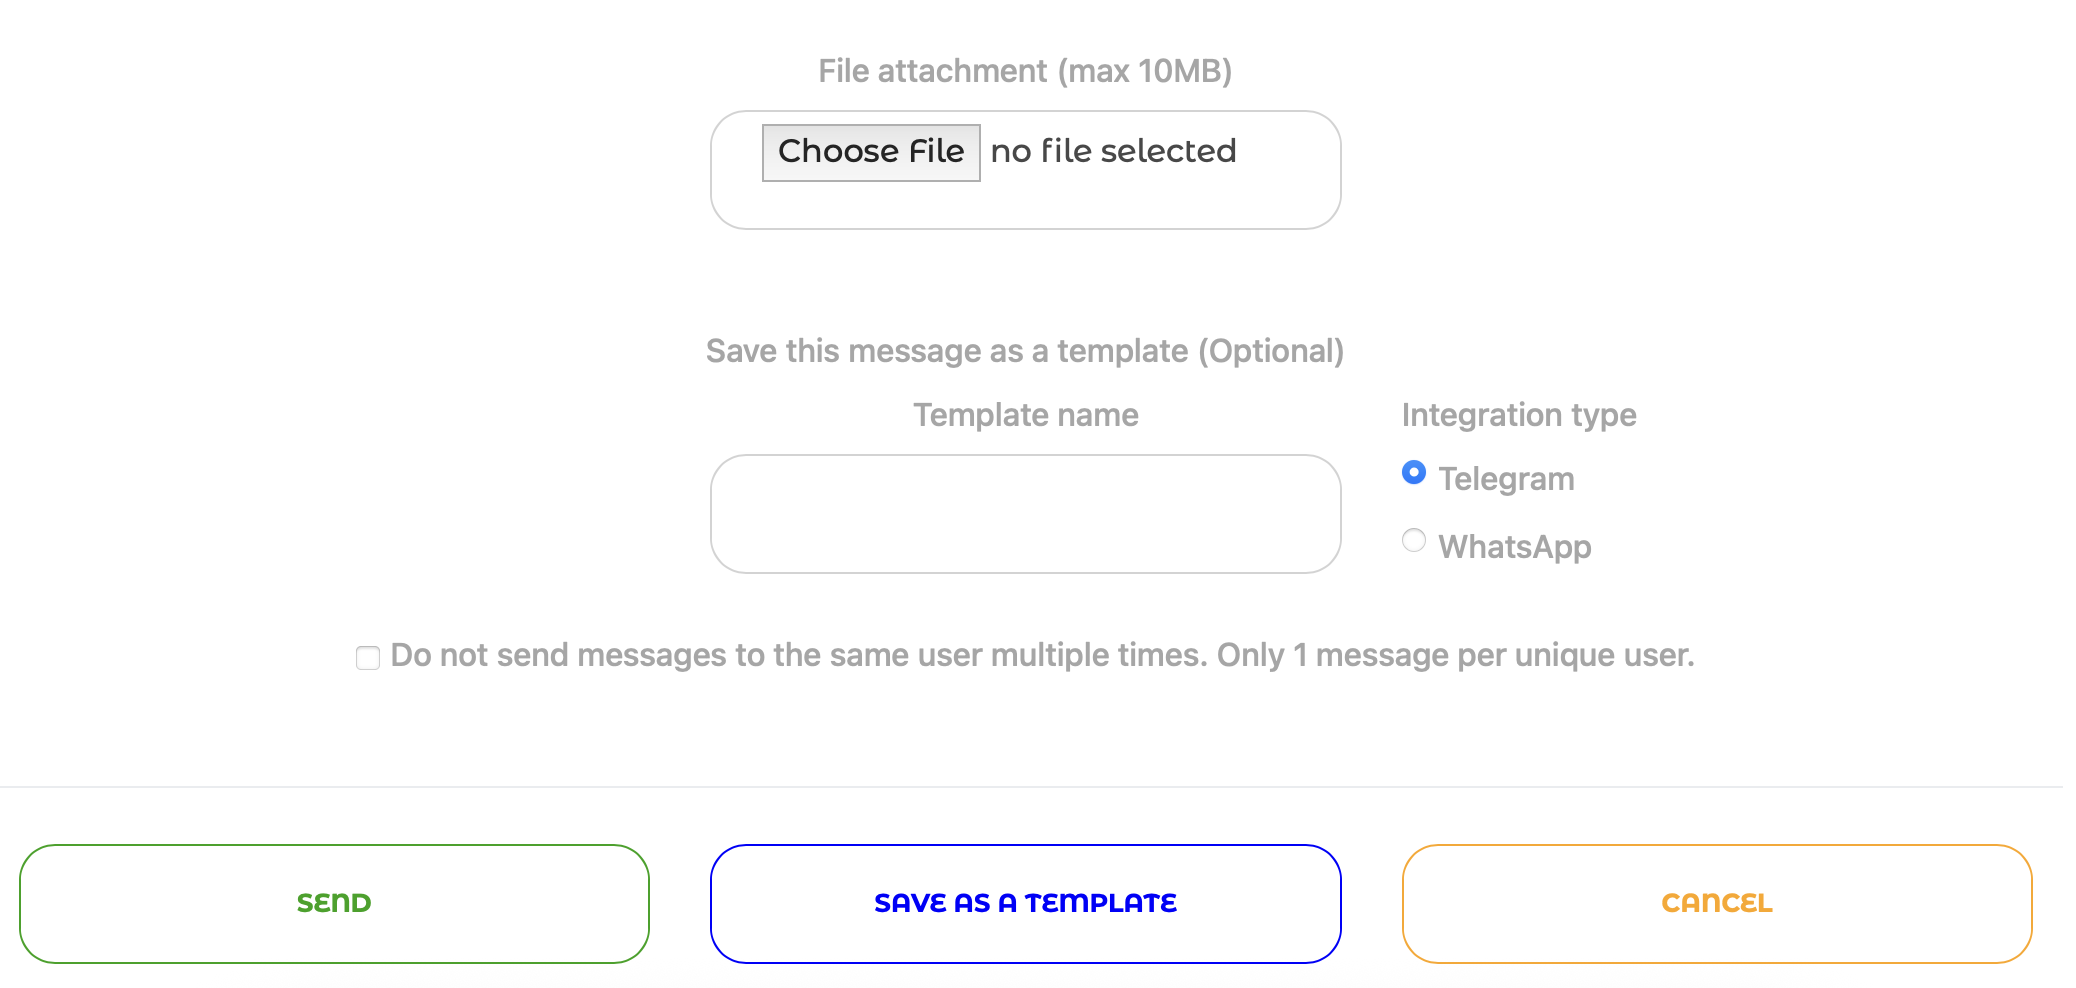
Below the message input form, there are hints on how and what record data can be inserted into the message template.
You can attach a file to the broadcast. You can also save this broadcast for repeated use.
The option Do not send messages to the same recipient multiple times. Only 1 message per unique user. can be useful if several records have the same record owner or attached message recipient.
To save the template, click "Save as template"; to send the broadcast, click "Send."
- In the Messaging Broadcasts Menu
The second way to send a broadcast manually is in the "Broadcasts" module on the "Messaging Broadcasts" tab:
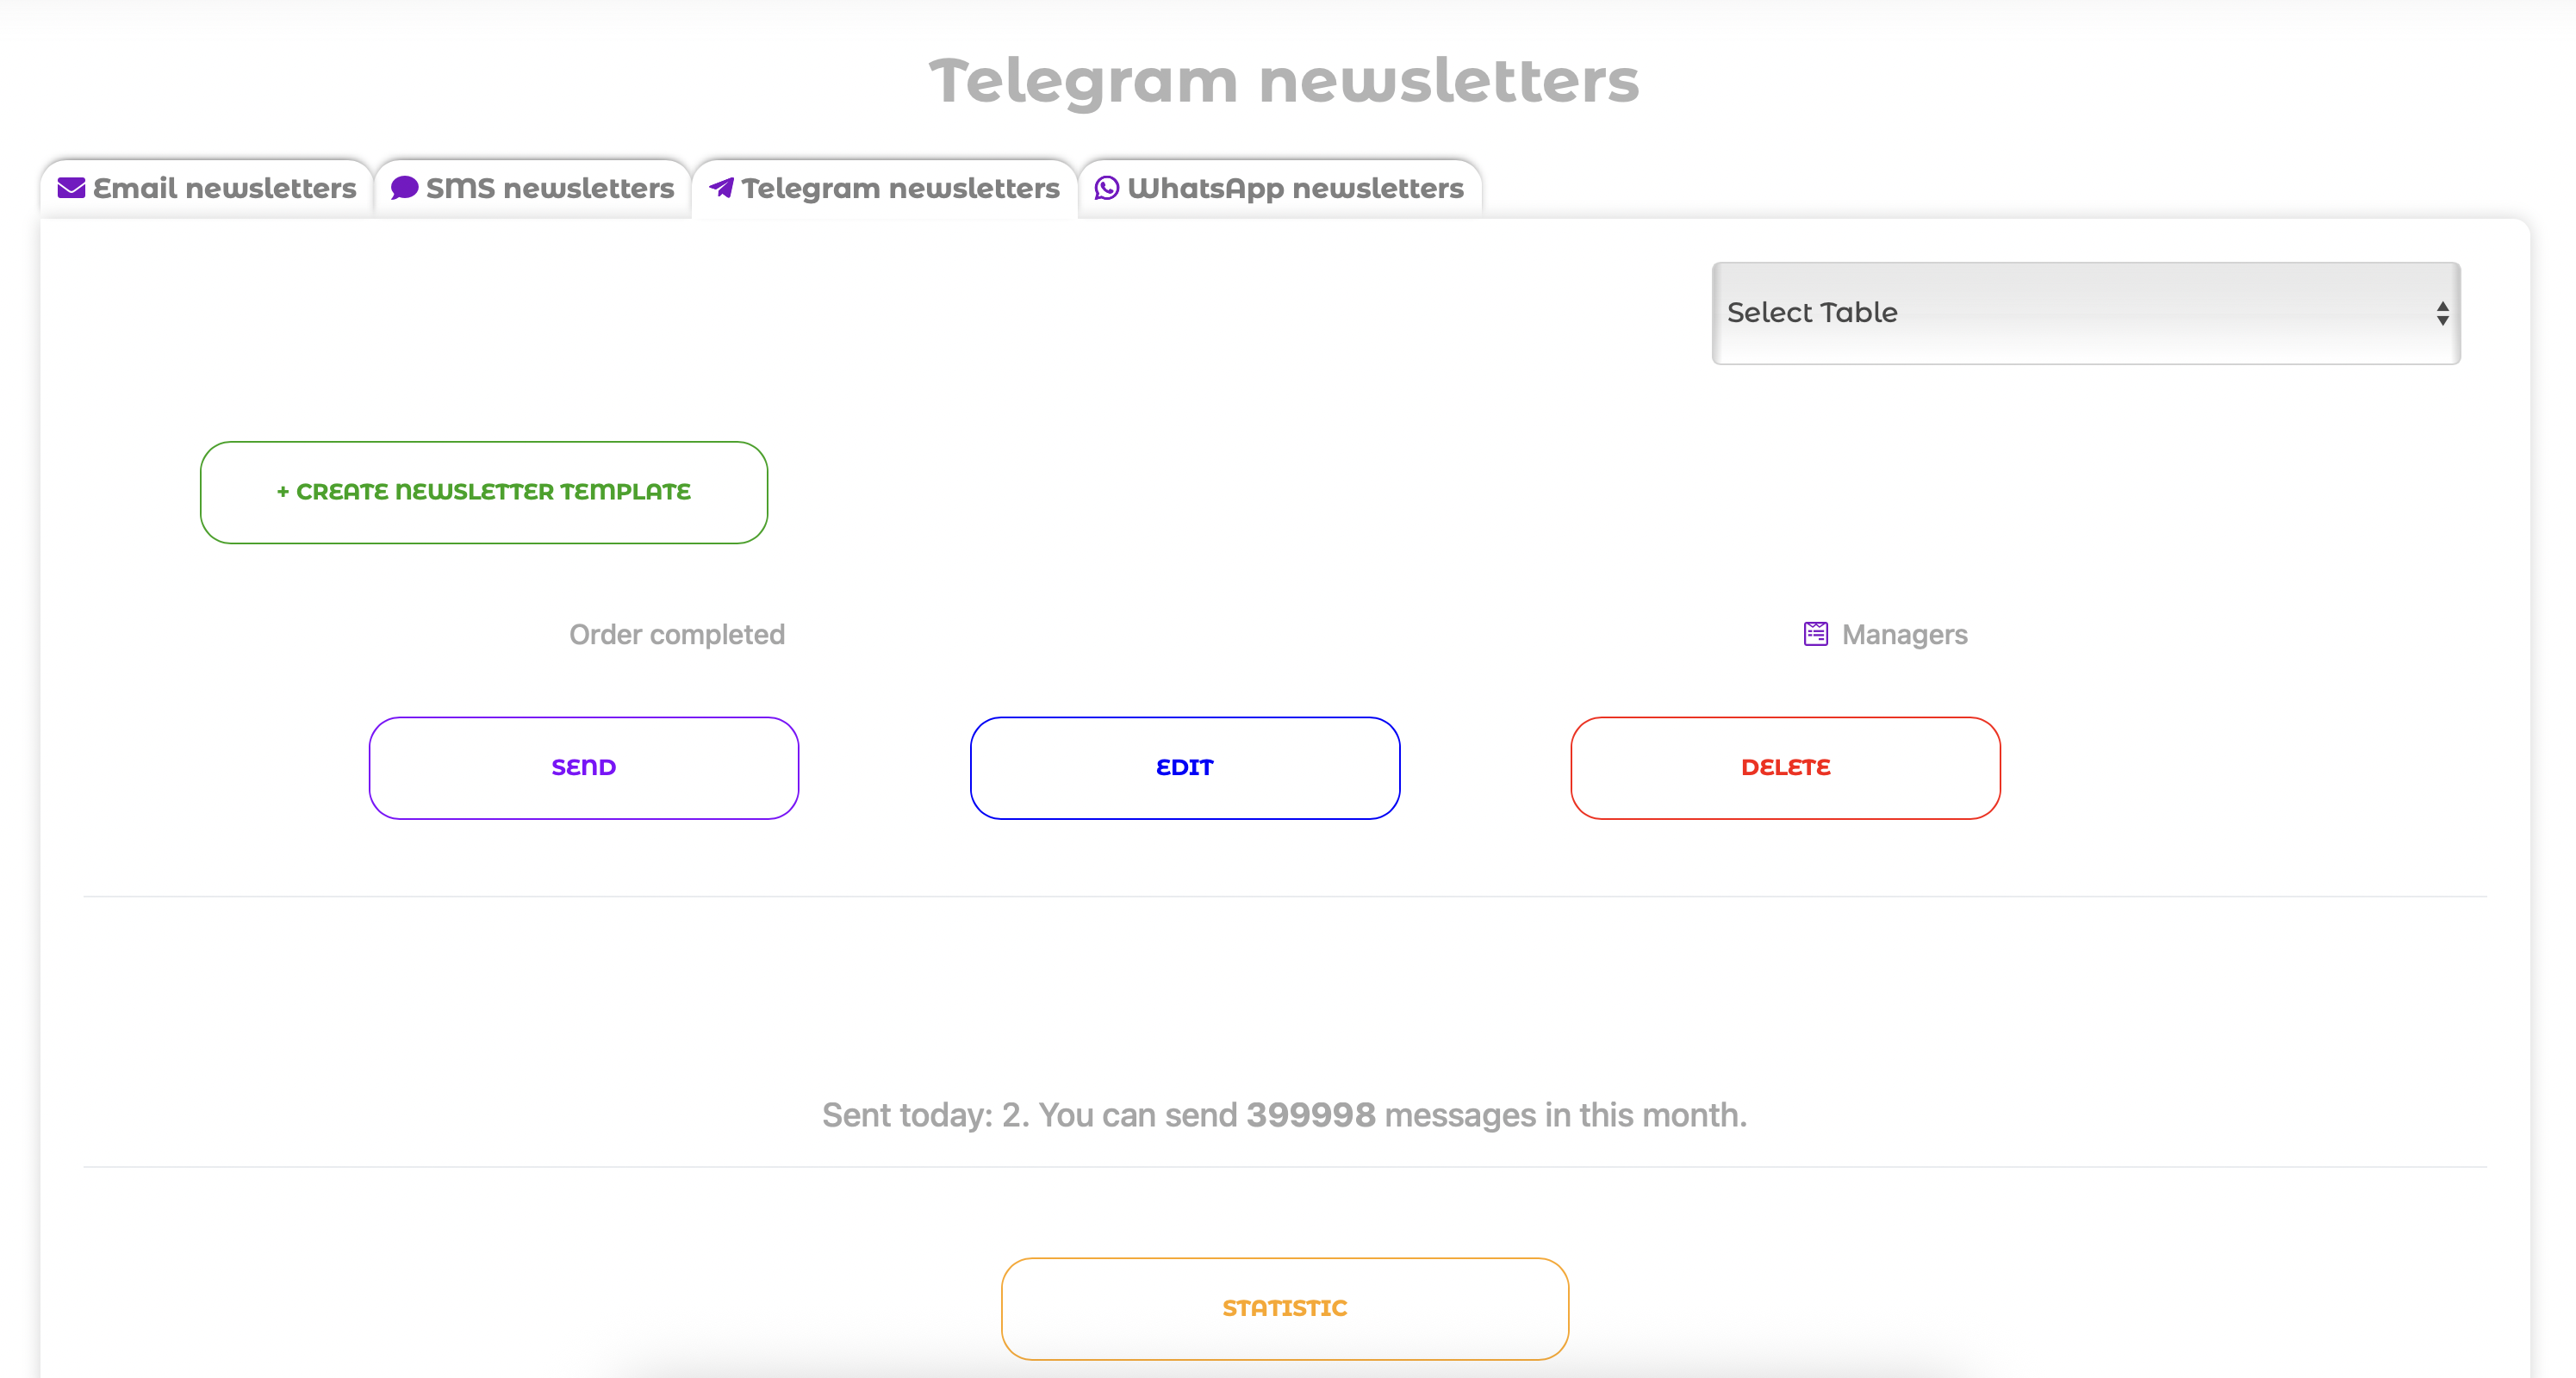
This allows you, for example, to notify all your clients about a new promotion or send an important message to all sales managers.
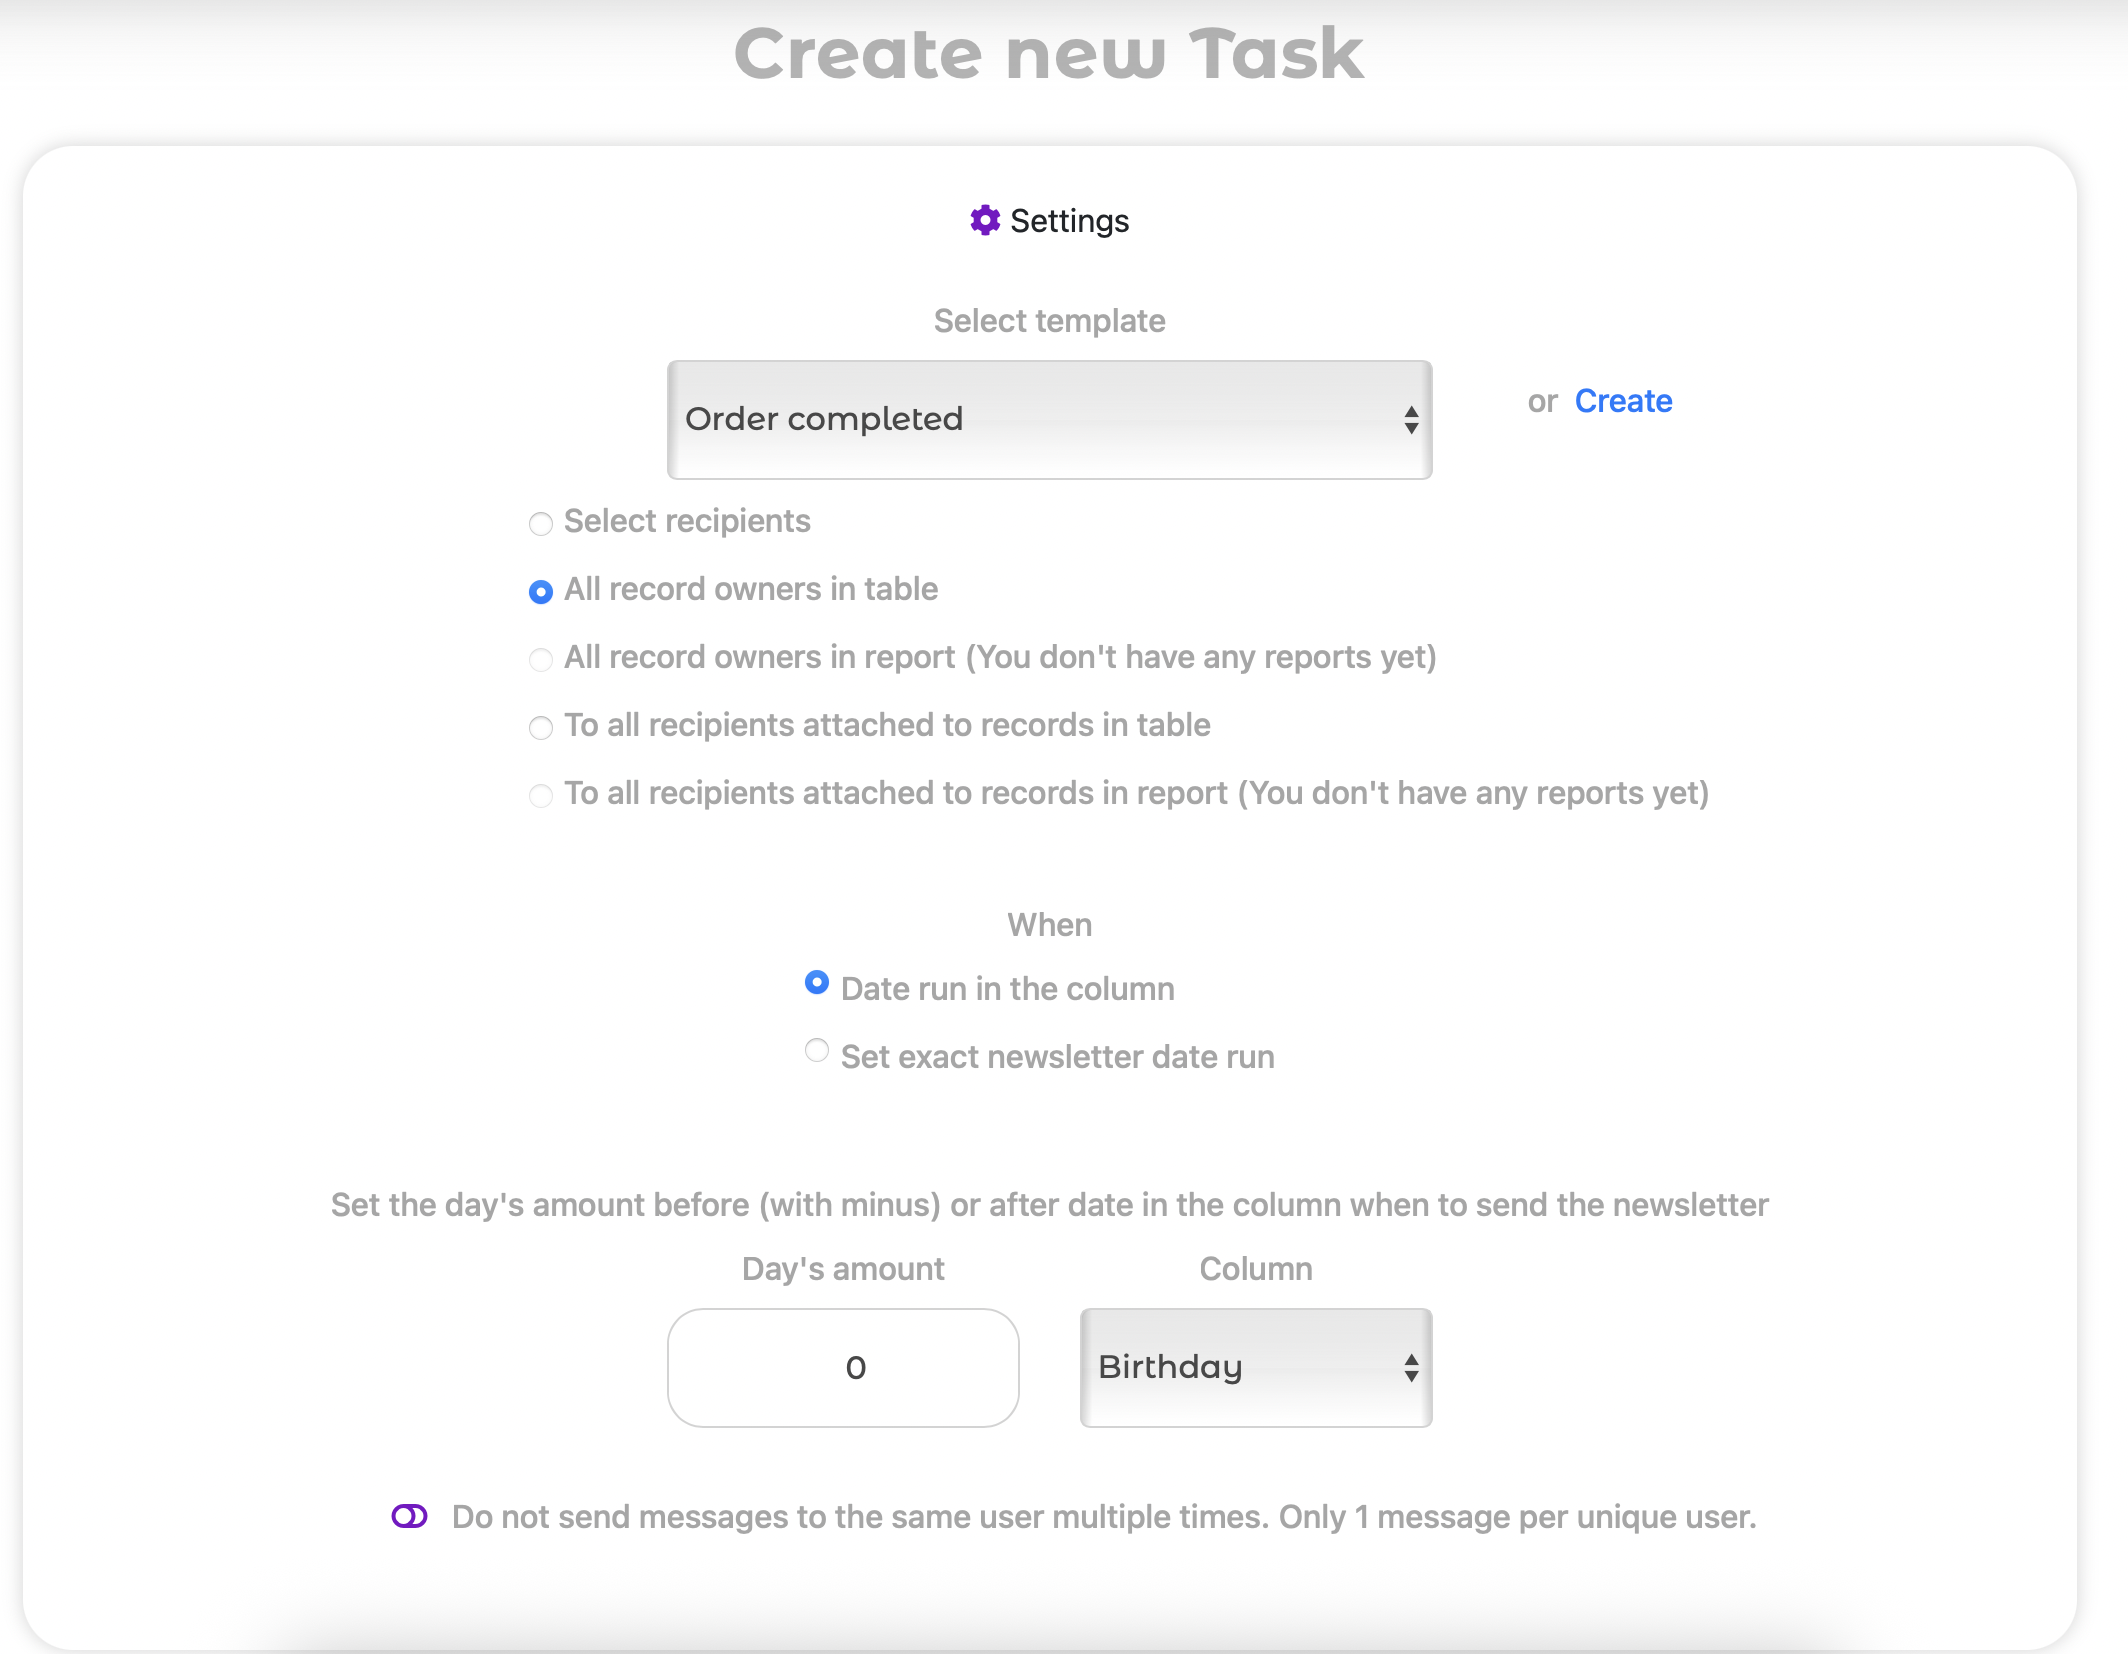
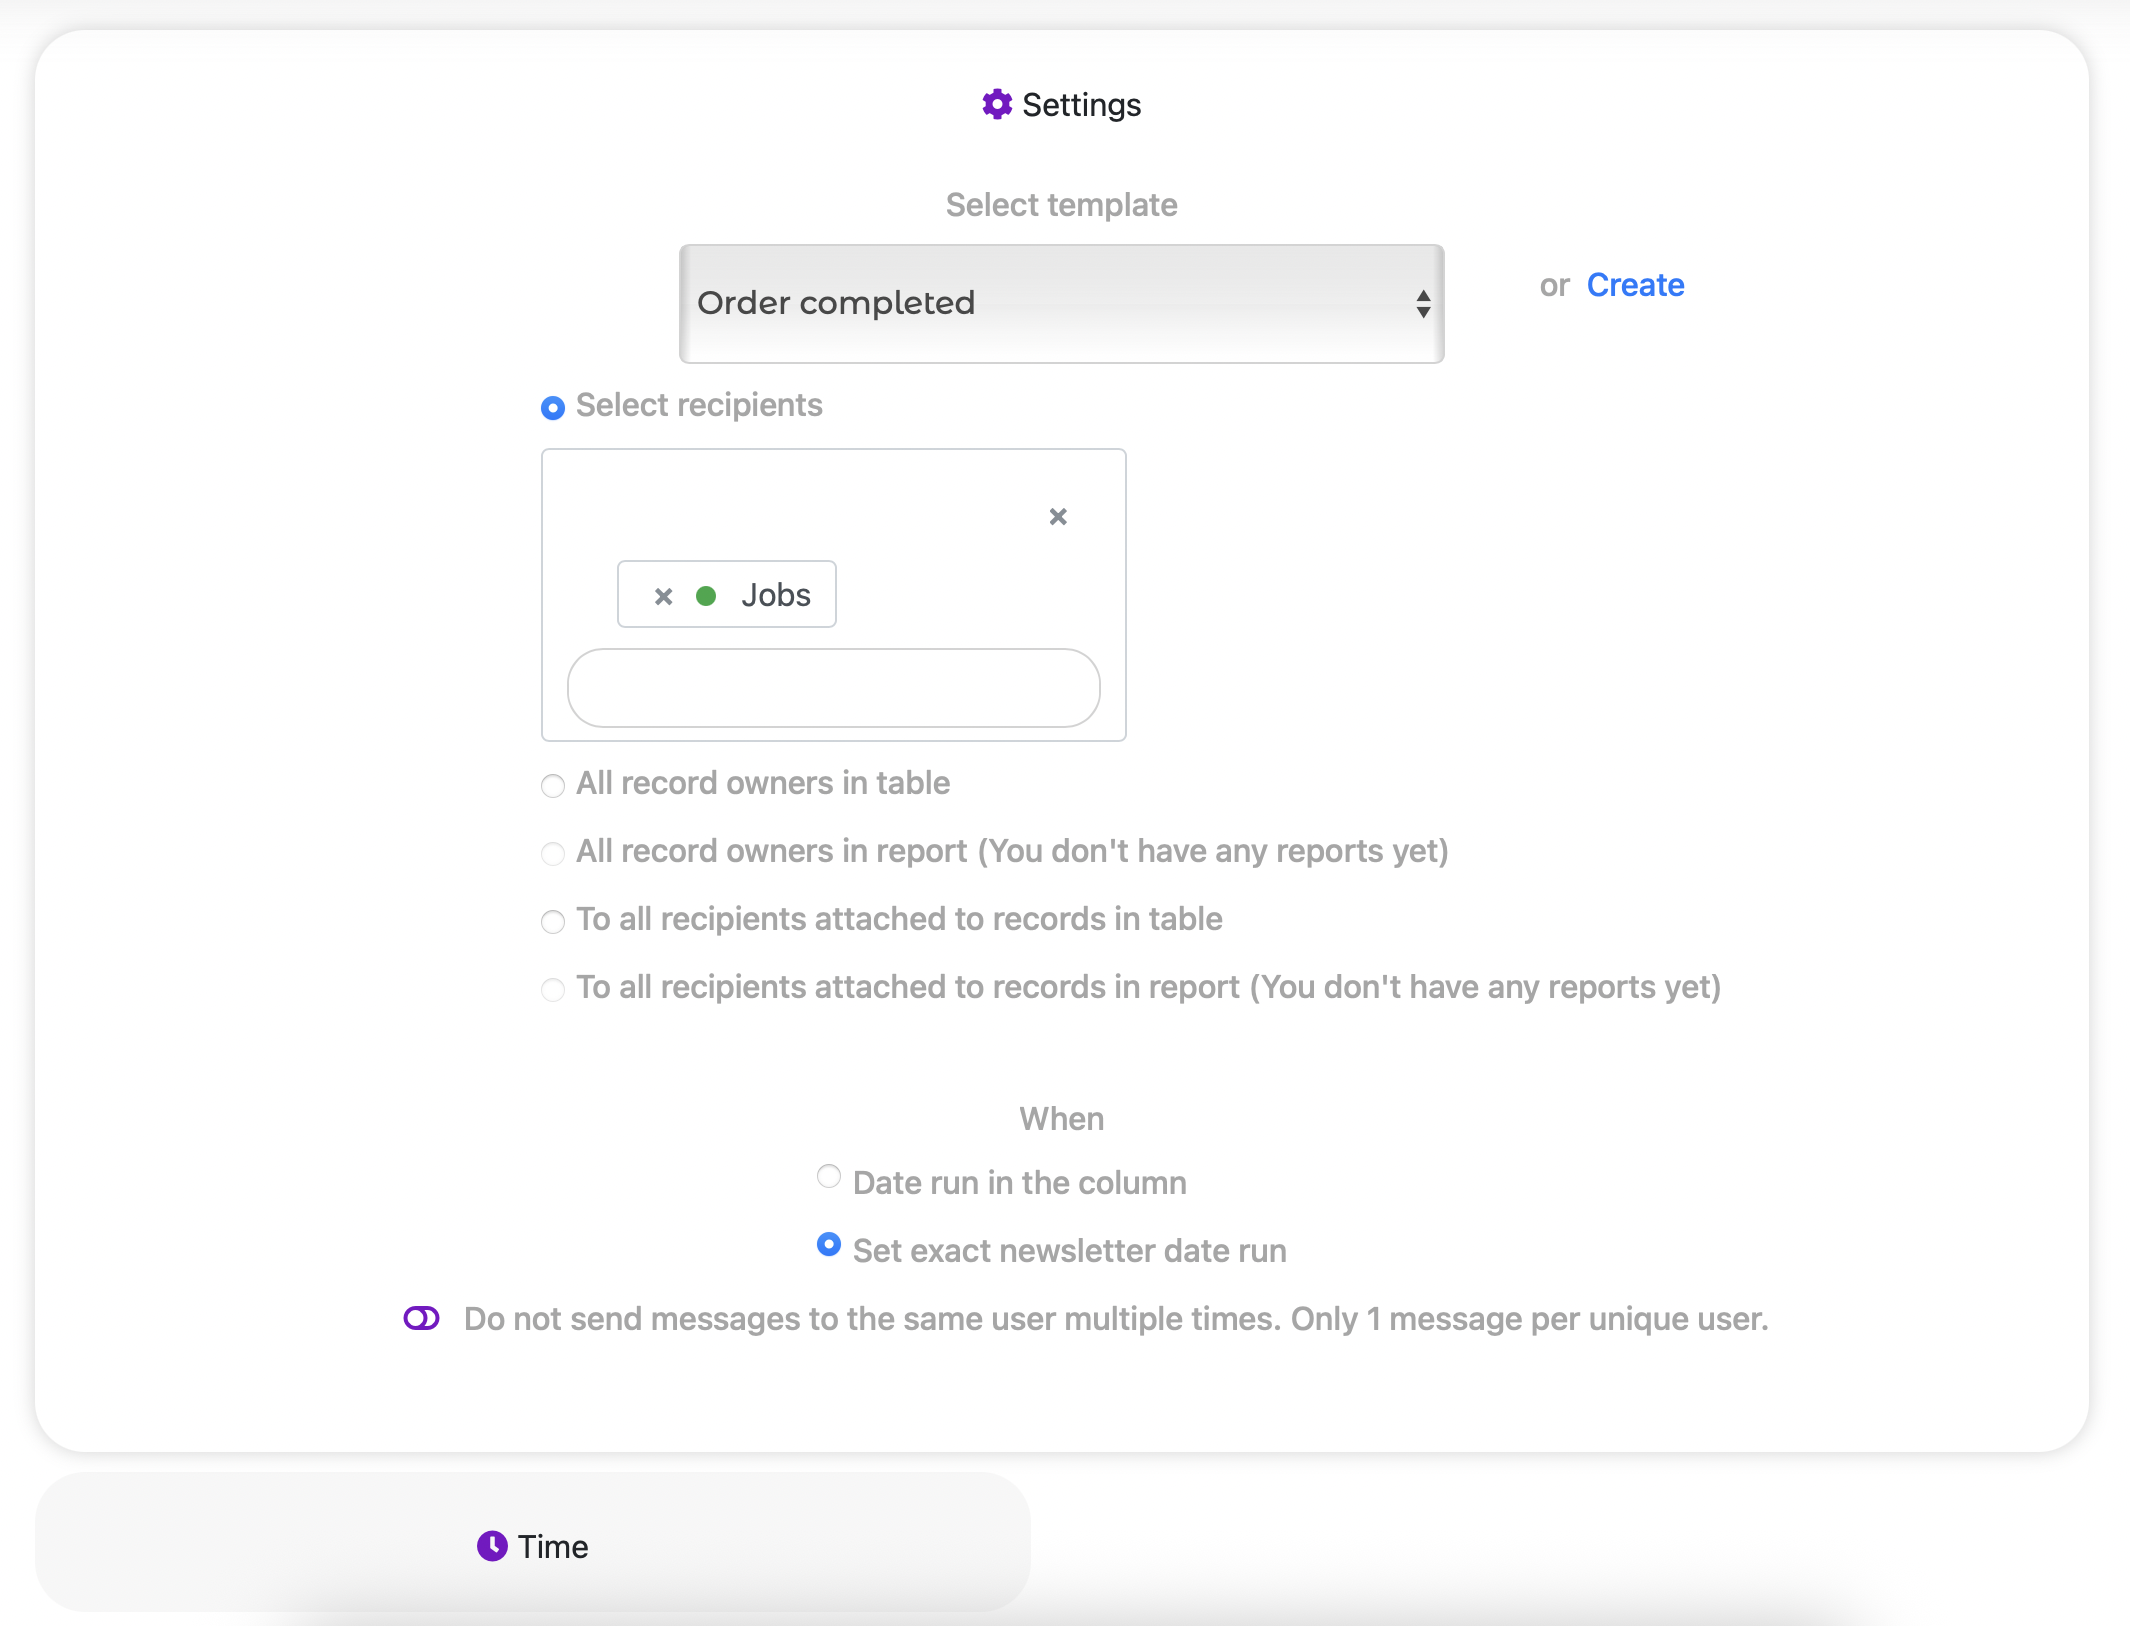
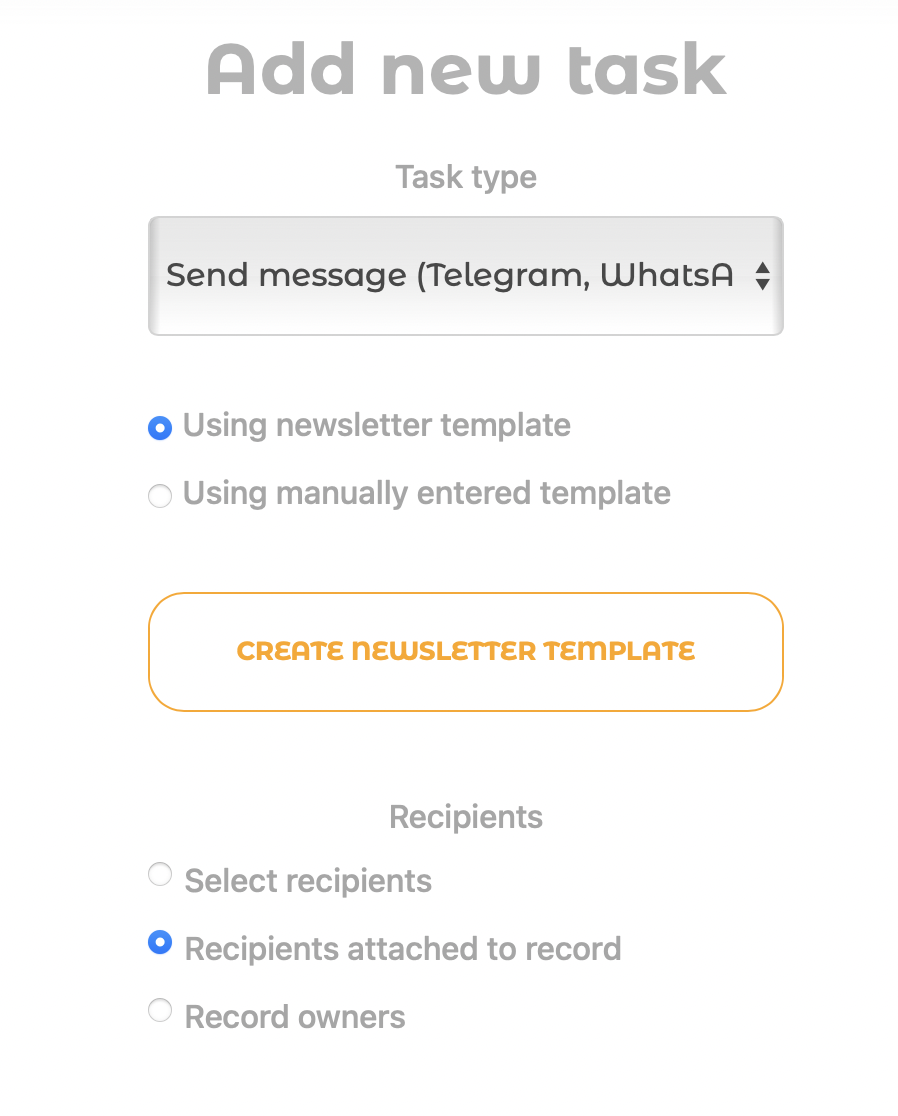
In the Automations module on the Broadcast Schedule tab, you can create and manage automatic broadcast tasks.
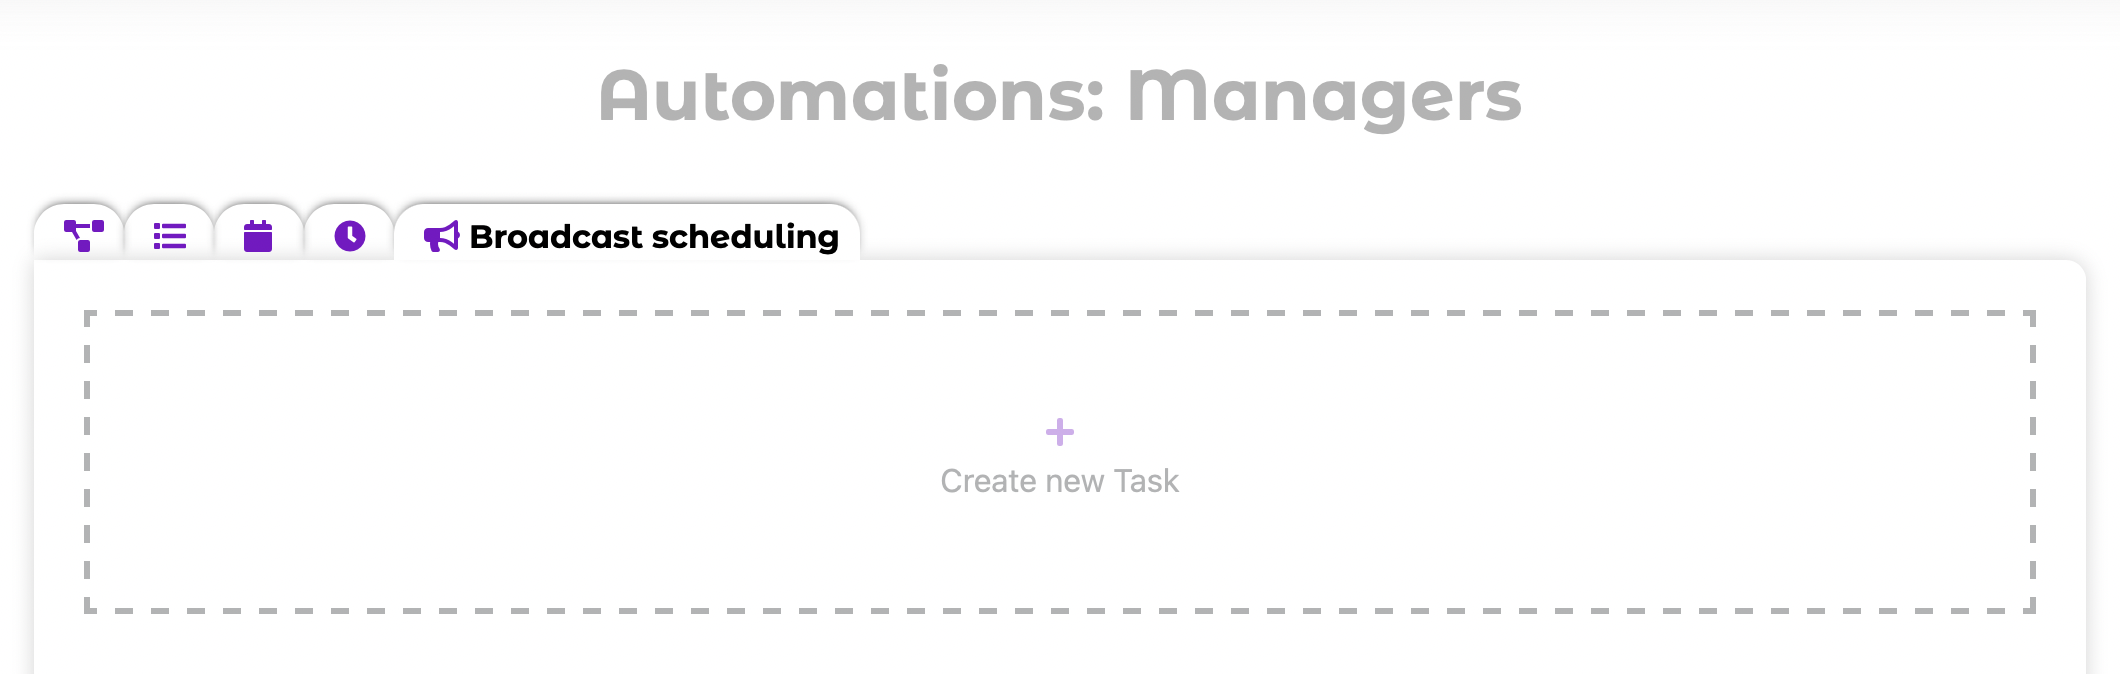
When creating a task, you need to select the recipients and launch date (from a column or manually)
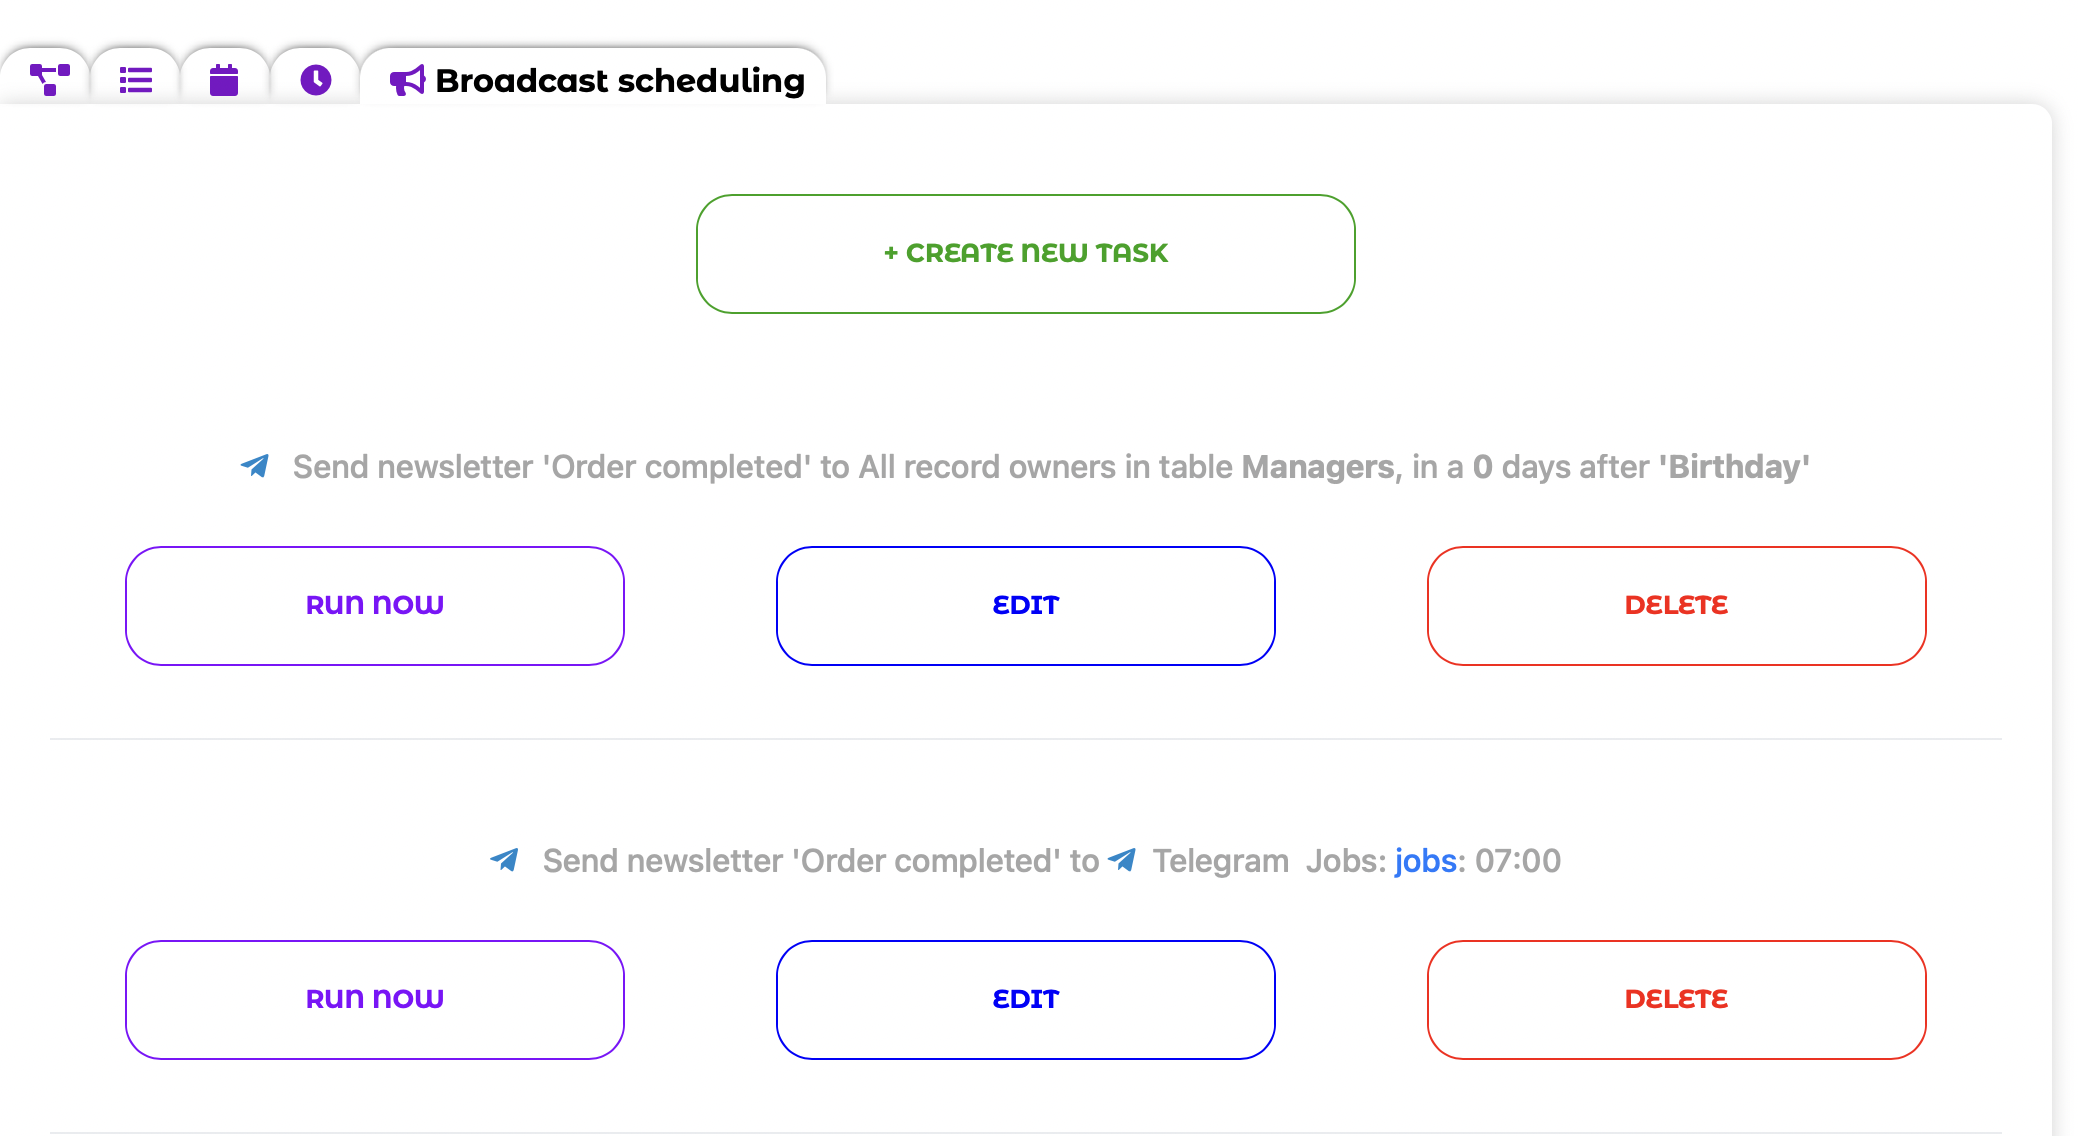
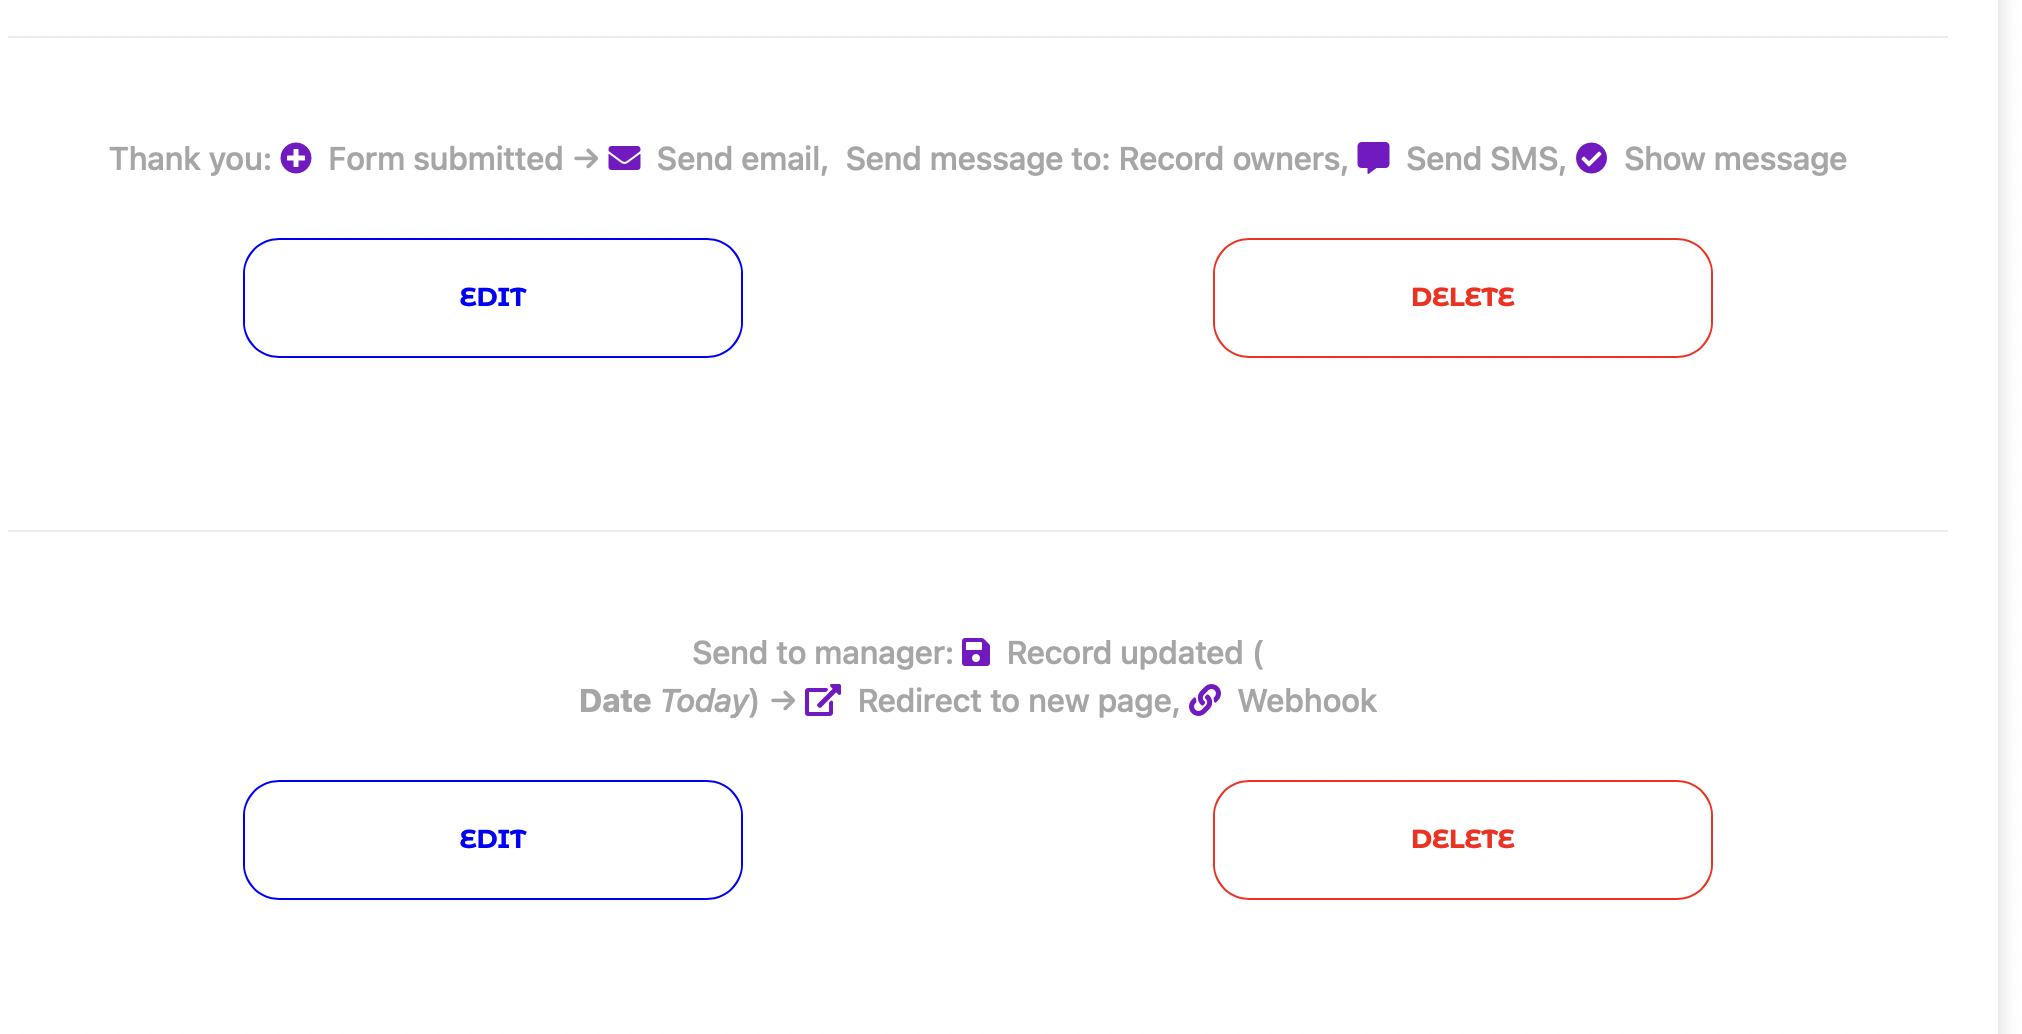
After creating automation tasks, you can edit them at any time or, if necessary, run them manually.
Broadcast statistics can be viewed in the "Broadcasts" menu.
Sometimes you need to send a message not automatically, but on demand, right from the table. The "Action" field type is ideal for this; it will appear in your table as a convenient button. By clicking on it, you can send a message to a recipient linked to the record using the selected integration (Telegram, QuintaChat, etc.).
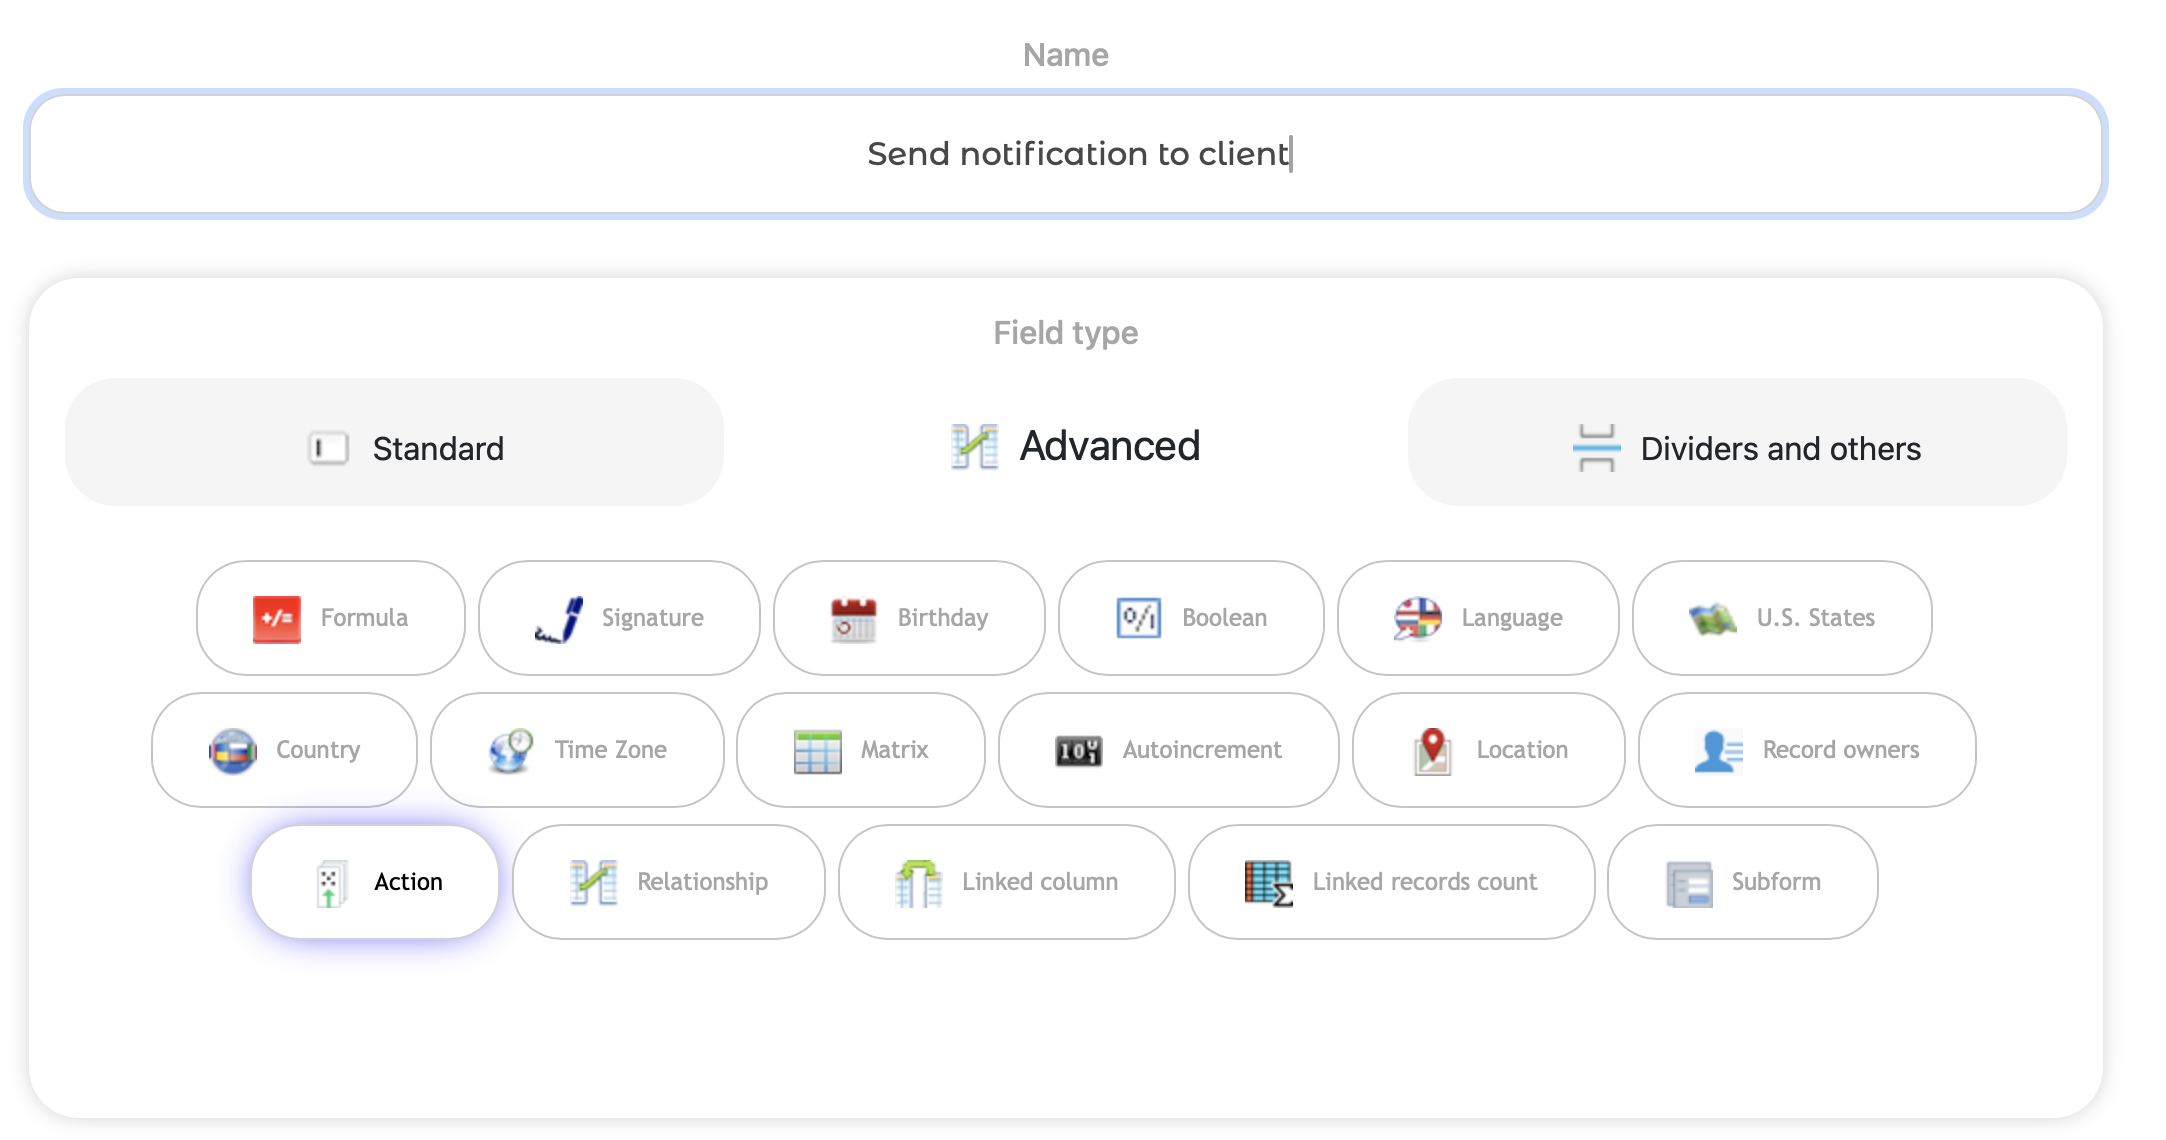
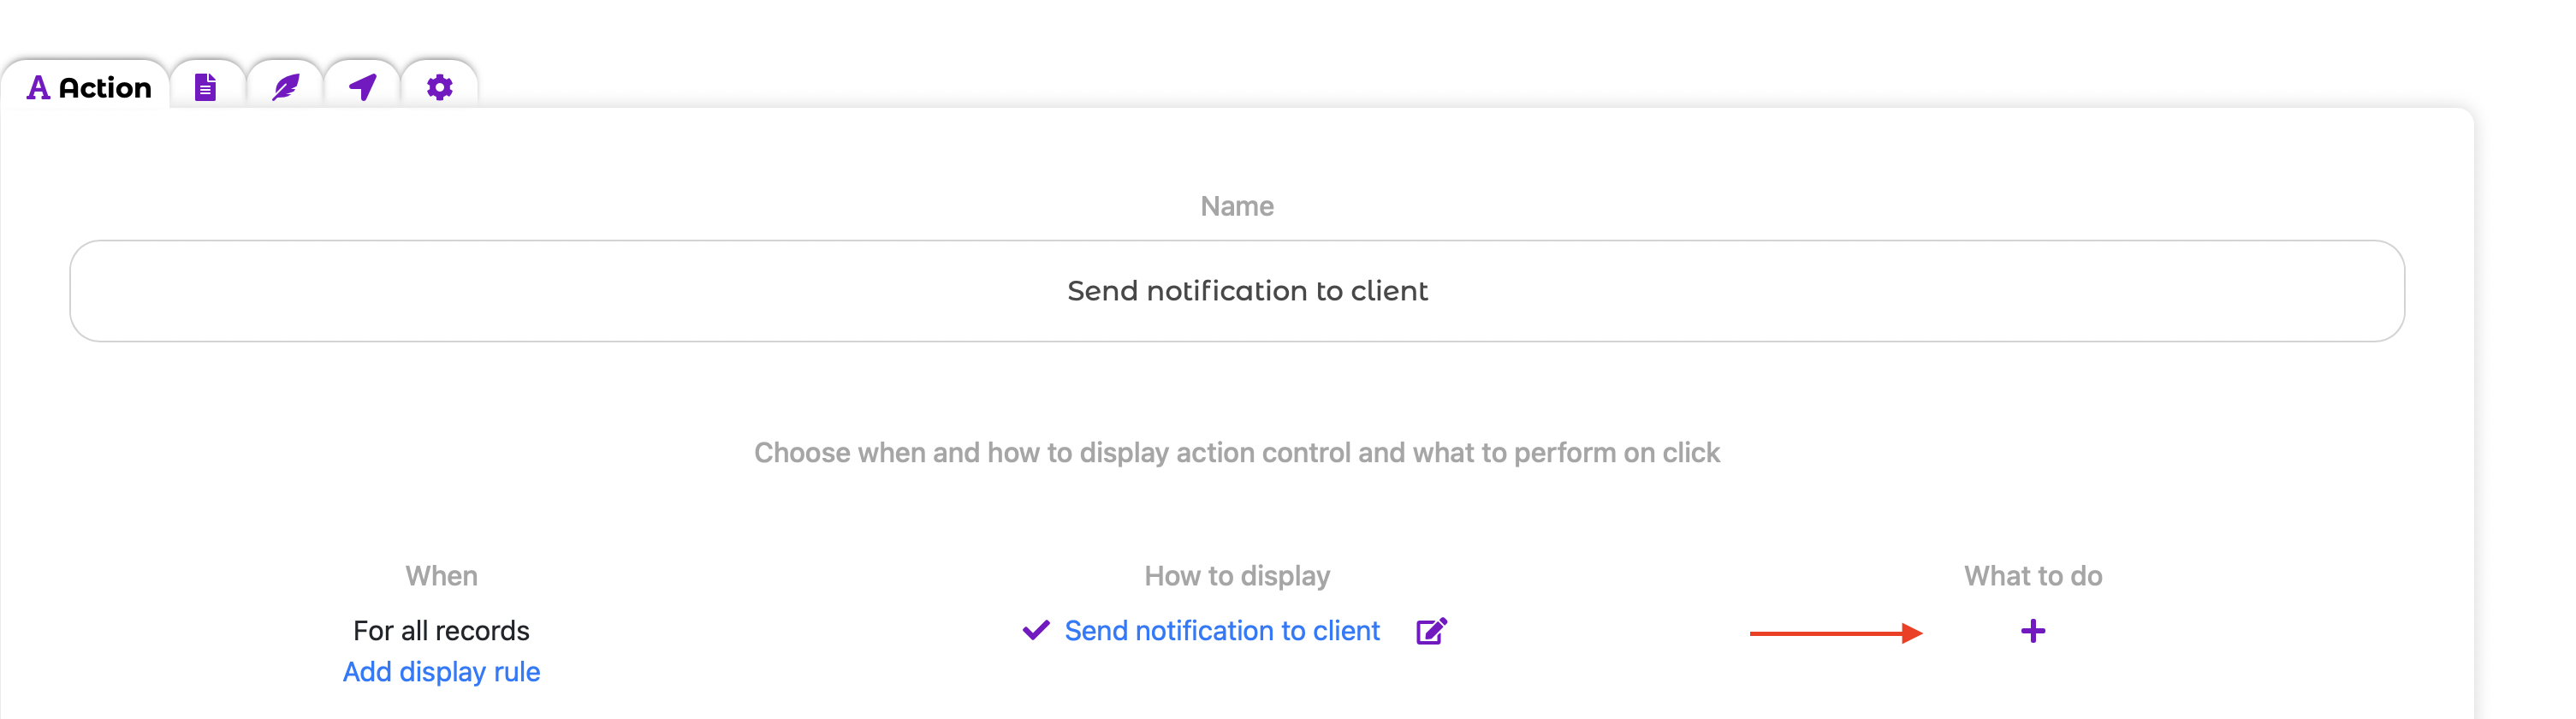
From the list of actions, select Send message. Next, you need to enter a message template or select one from saved templates. You also need to specify the recipients (selected users, record owners, or recipients linked to the records) and the Integration (e.g., Telegram or QuintaChat)
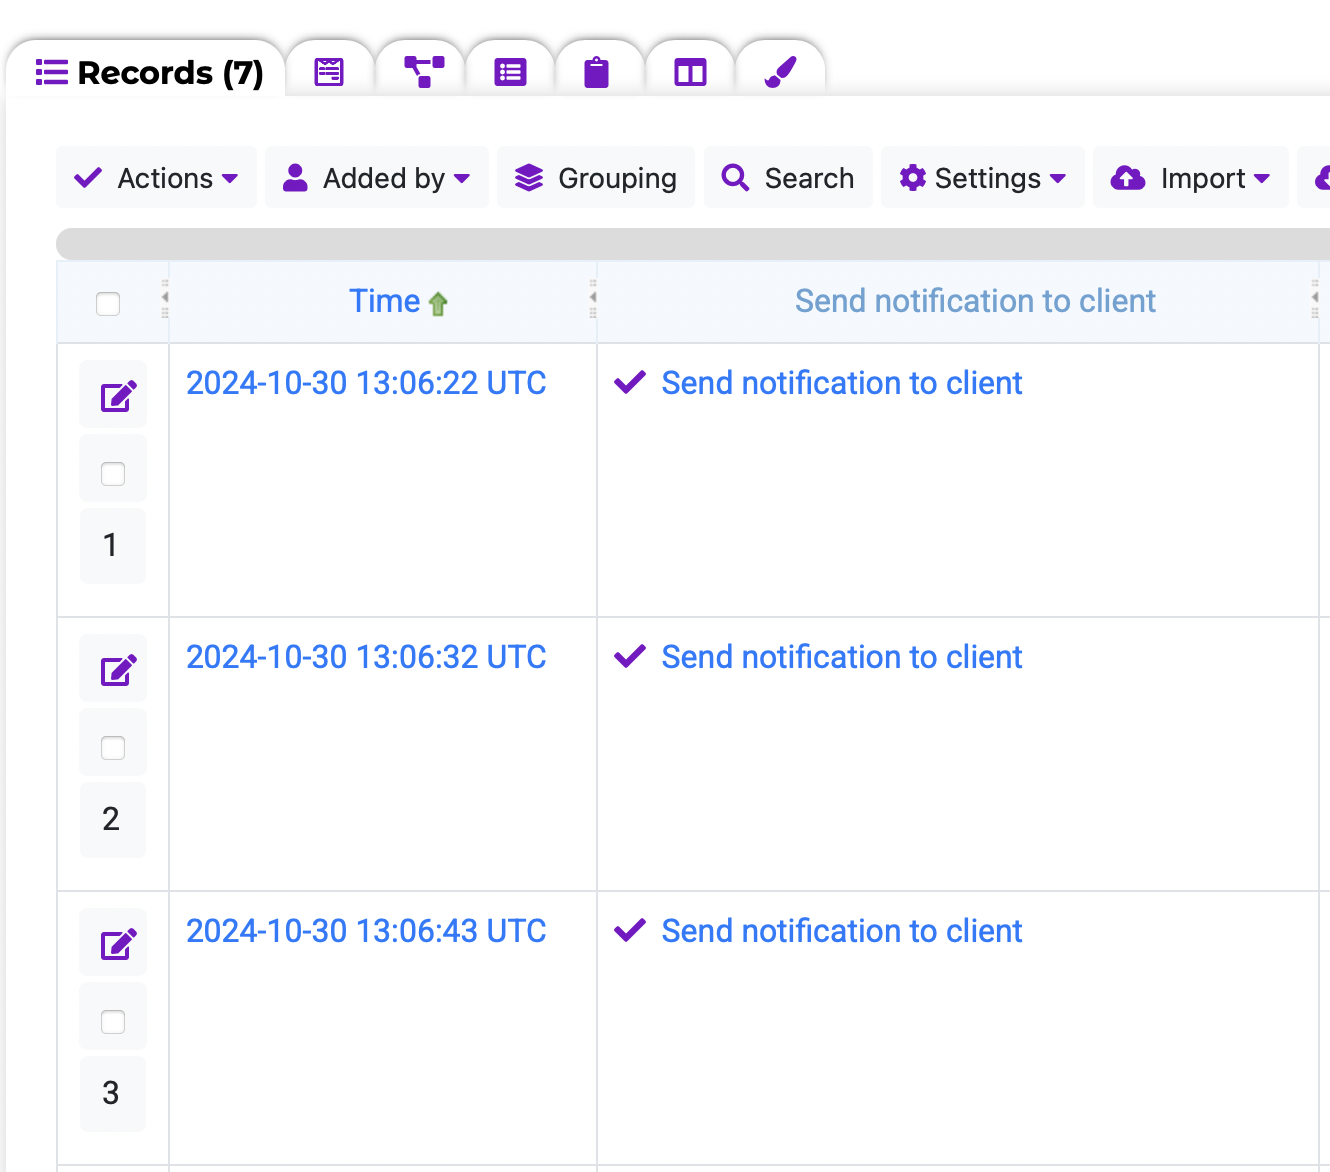
Now, each record will have a button, for example, "Send notification to client," which, when clicked, will instantly send a message to the selected recipient. This allows your employees to manage communication directly from the table.
The most powerful way to use the integration is through automation. You can set up rules that automatically send messages as soon as a specified condition is met.
Go to the "Automations" module and create a new rule:

Now, as soon as a manager marks an order as completed, the client will automatically receive a notification via the selected channel. This completely eliminates manual work and increases operational speed.
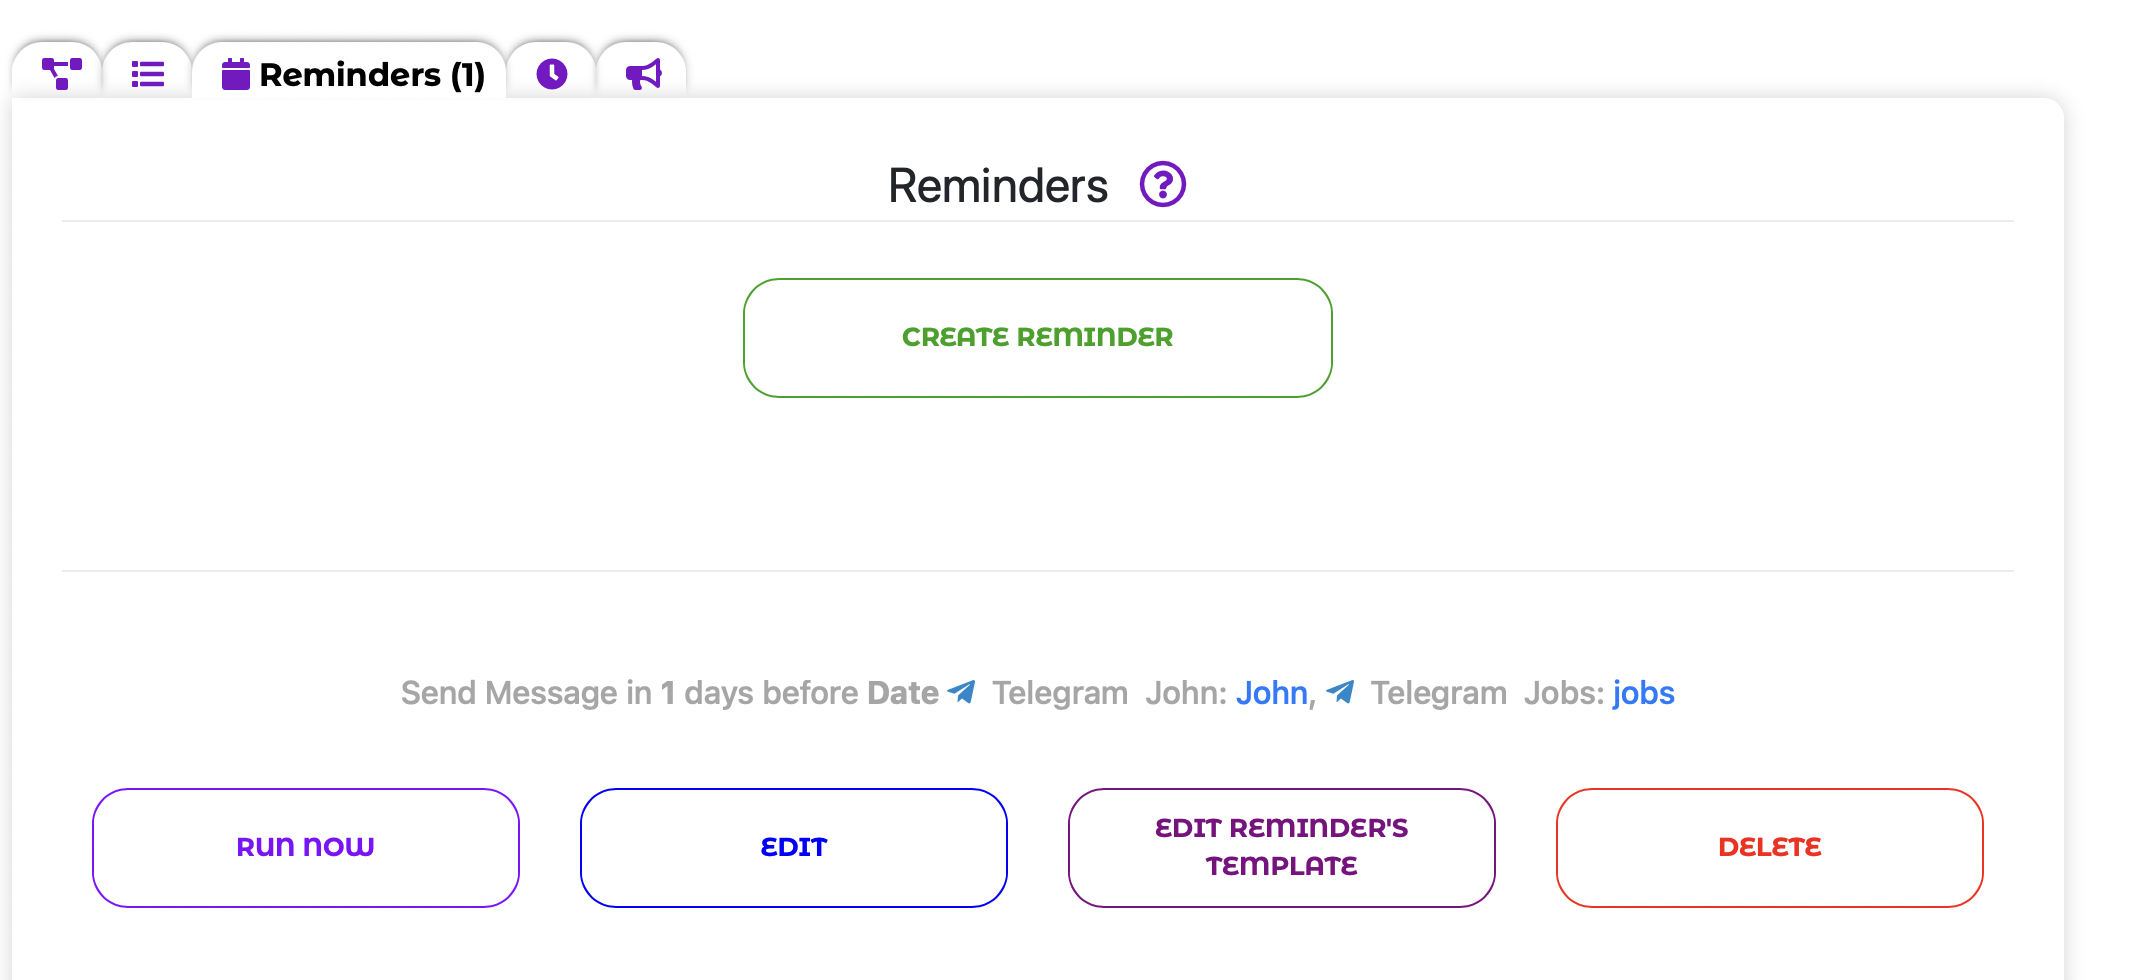
You can also use the messaging integration to create automatic reminders. This feature is useful when you need to notify someone about an event that will happen in the future.
To set up a reminder, go to the Automations module on the Reminders tab and create a new reminder:
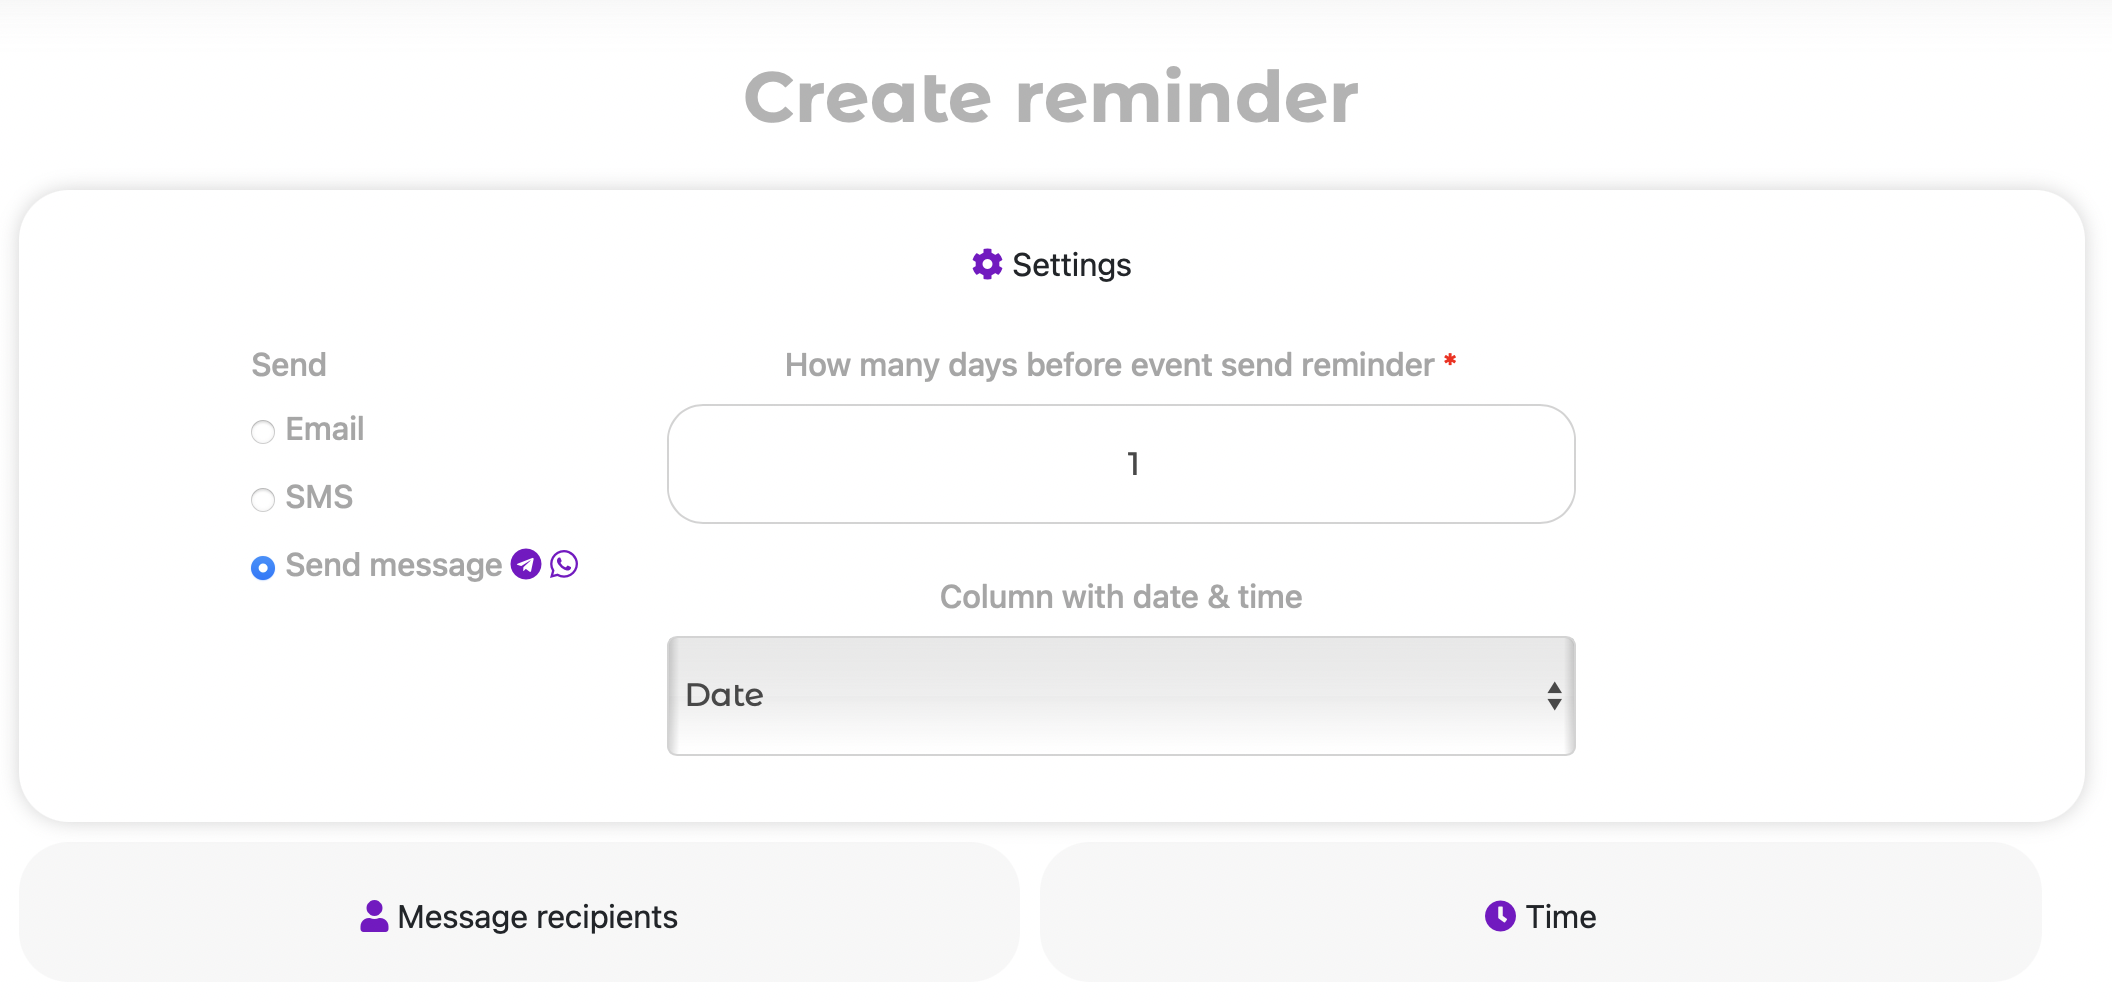
Now the system will automatically send a reminder via the chosen integration, so your clients or employees will always be aware of important events and won't miss meetings, deadlines, or other planned activities.
Sending messages through the messaging integration uses a system of credits, also known as API calls. Each message sent by the bot, including notifications and broadcasts, consumes 10 credits.
The number of available API calls depends on your tariff plan:
Important clarification: If you need more calls than included in your plan, you can purchase them additionally. However, this option is only available to users on the maximum plan. To increase the number of available calls, you need to upgrade to the maximum tariff plan.
You can always check your current API calls balance and plan limit in the "Payments and Statistics" menu.
We believe that an effective business is an automated business. The new Messaging Integrations module is a big step towards the full automation of your communications. It will allow you to not only save time but also build stronger and more trusting relationships with your clients.
Try the new integration today and see how easy it is to manage your business directly from your preferred messaging service!
If you have any questions, please contact our support team or leave comments under this post. We are always happy to help!
 English
 Italiano
 Español
 Français
 Deutsch
 Português